I got a pair of these kits and just finished building the first. I have some pictures of the process to share.
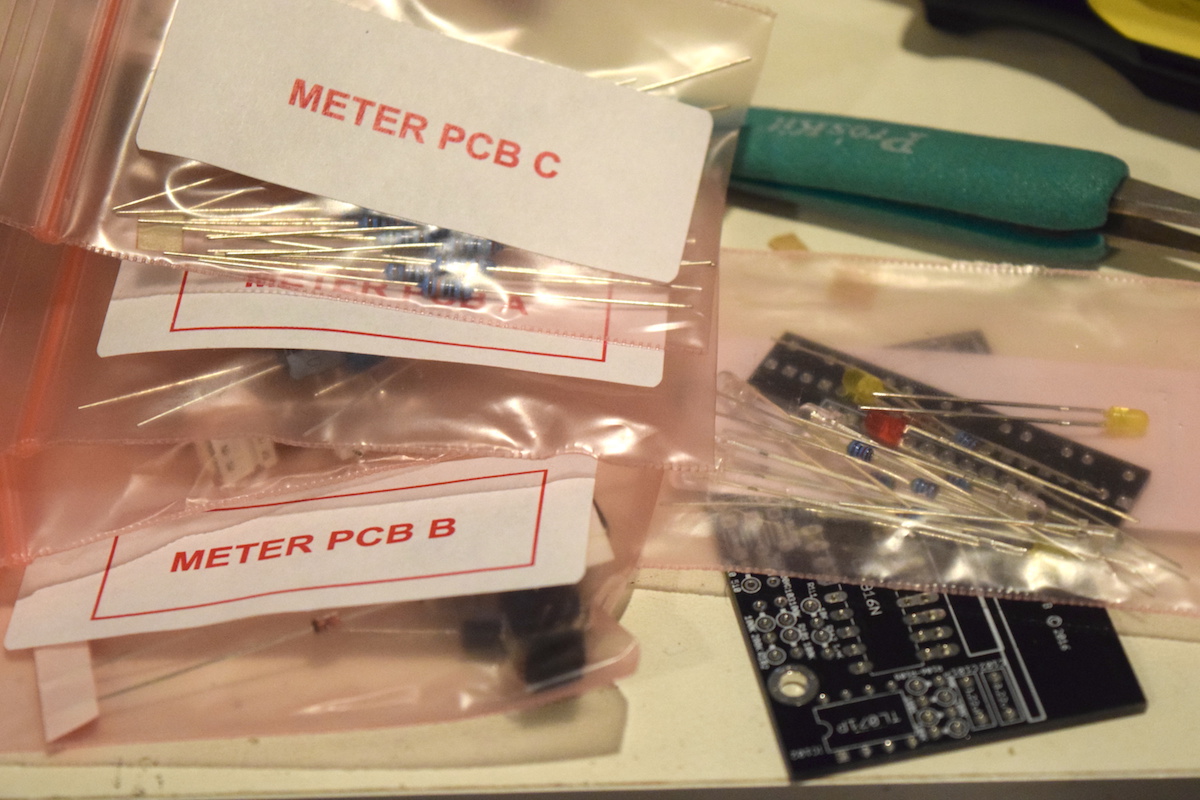
My first impression was very good. This is by far, the project with the most detailed documentation, I have ever worked on.
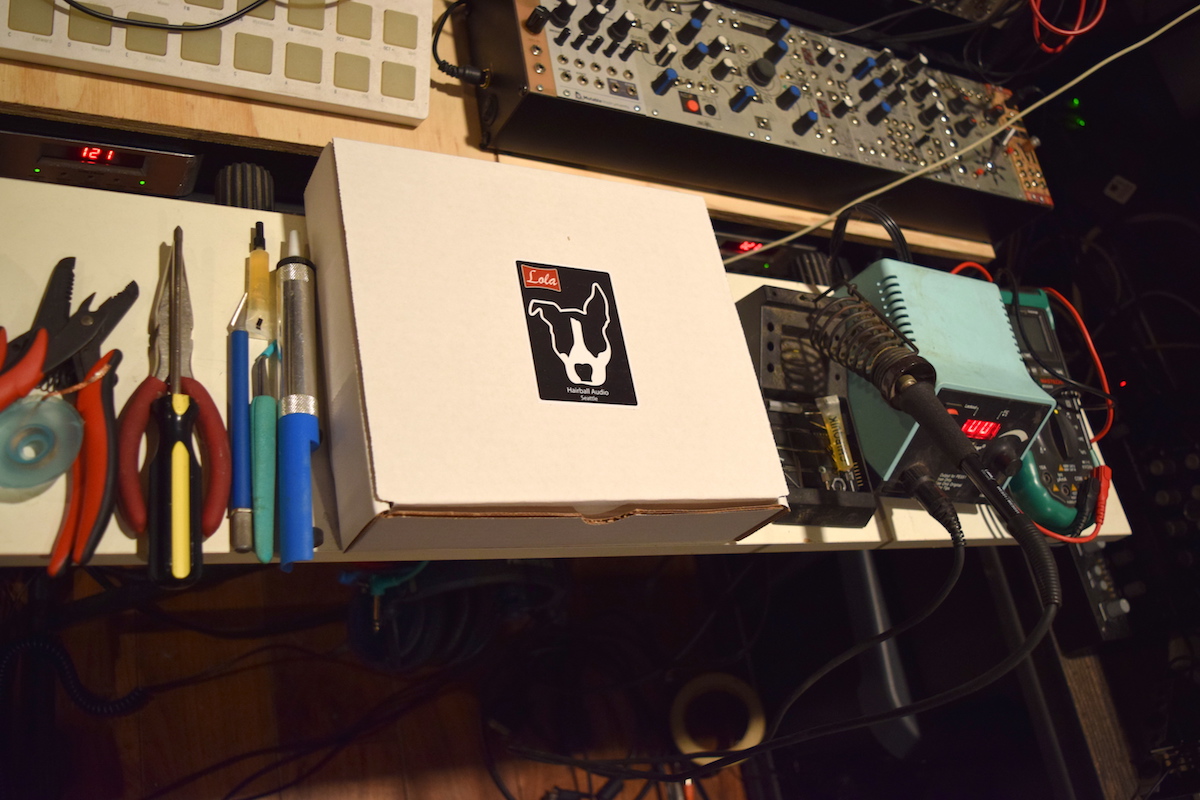
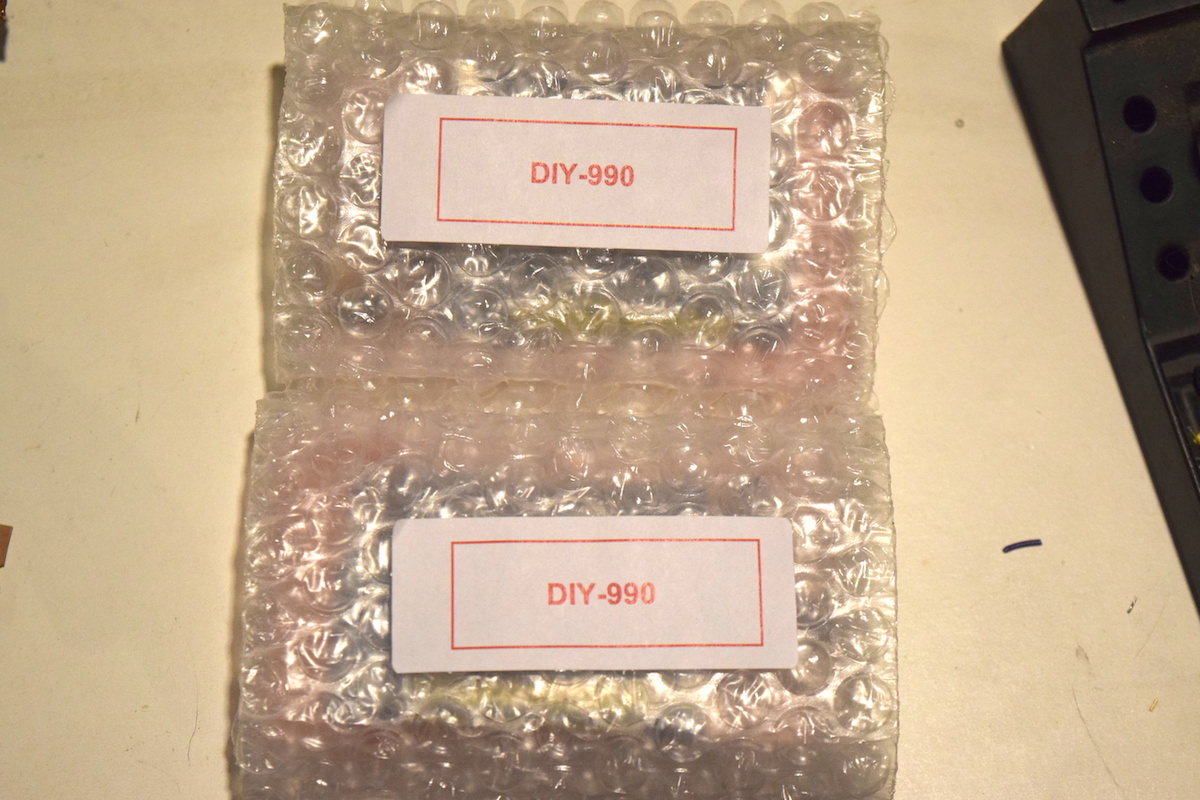
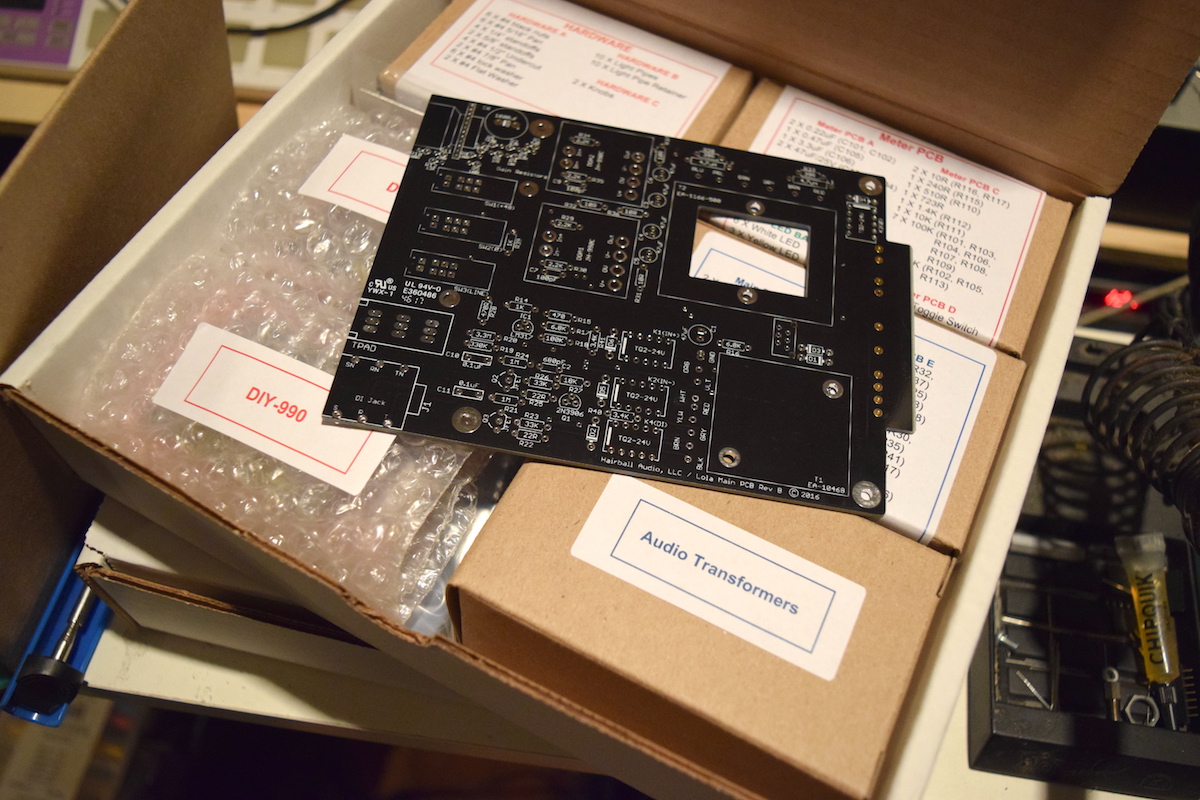
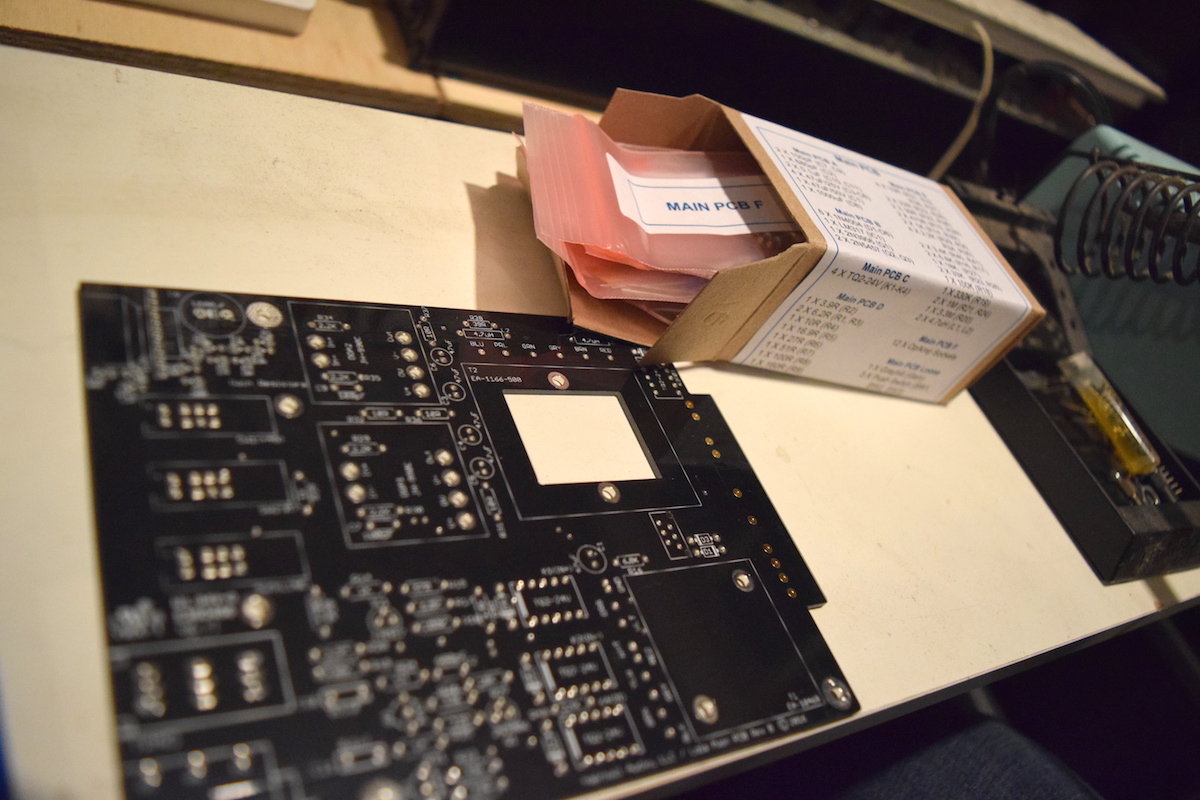
The parts are packed with the parts itemized on individual boxes for each portion of the build.
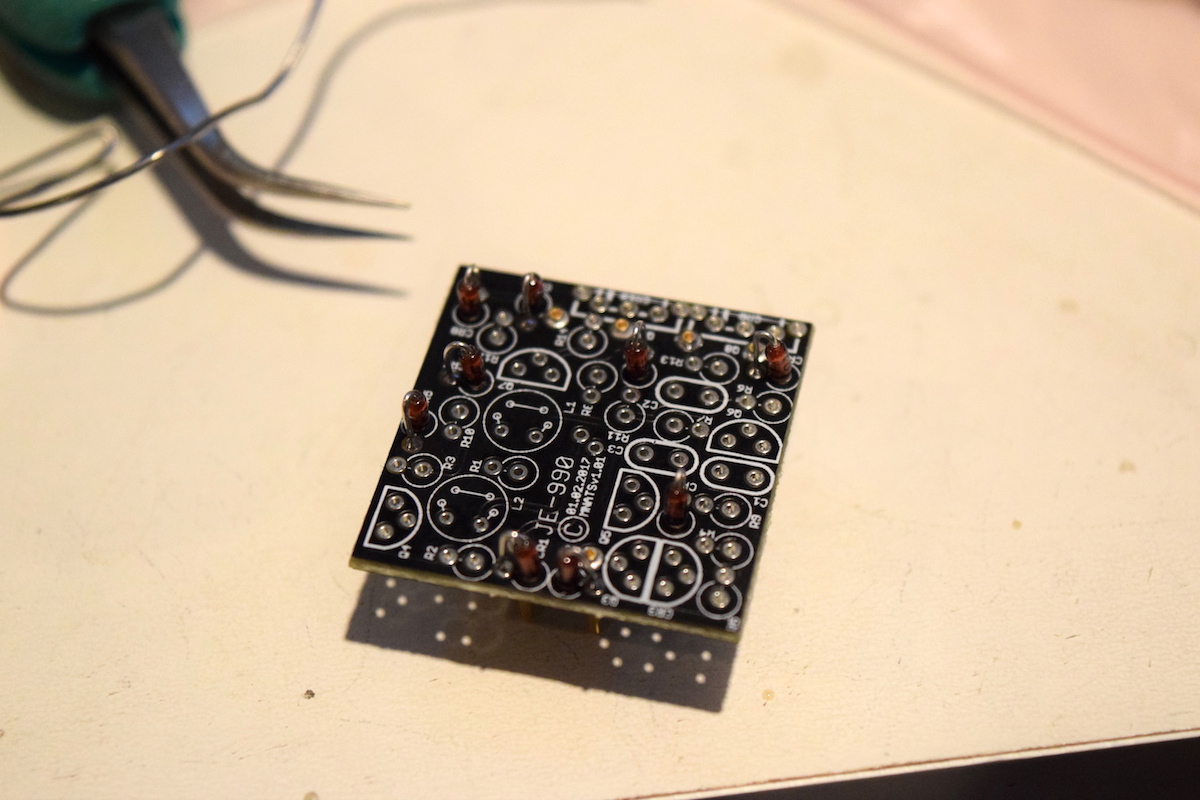
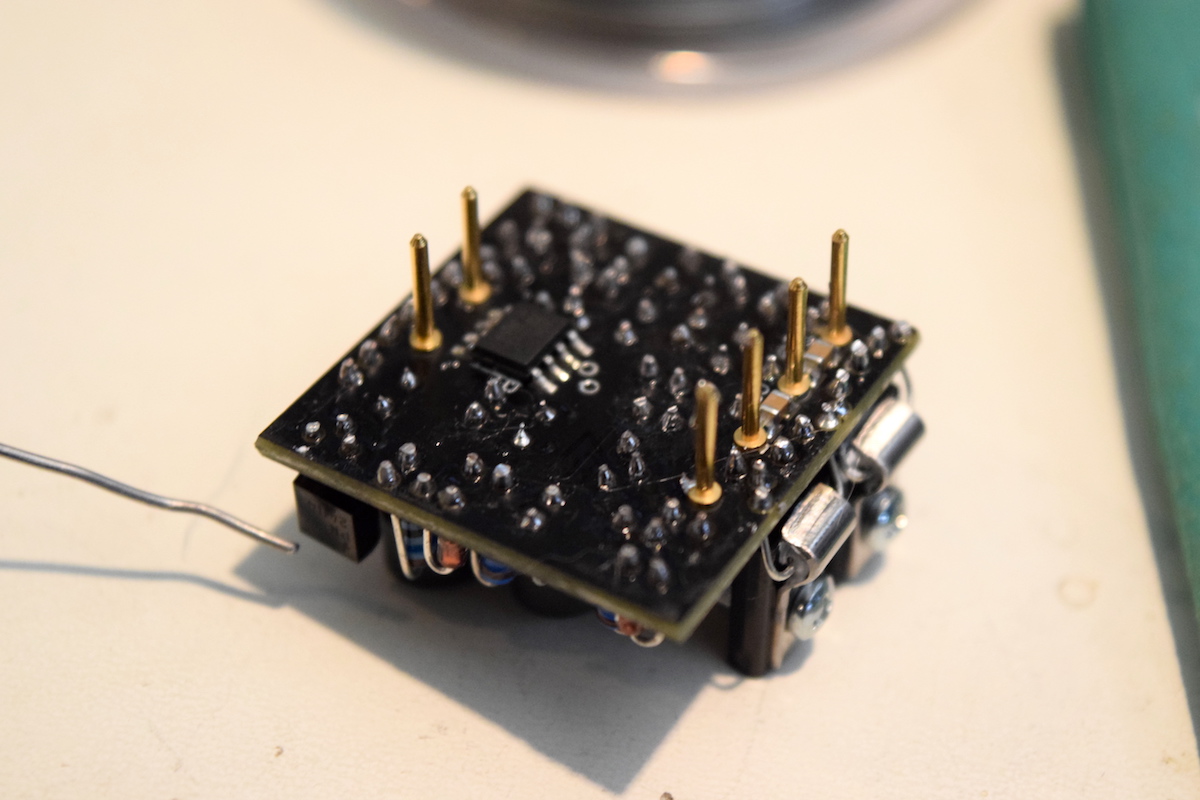
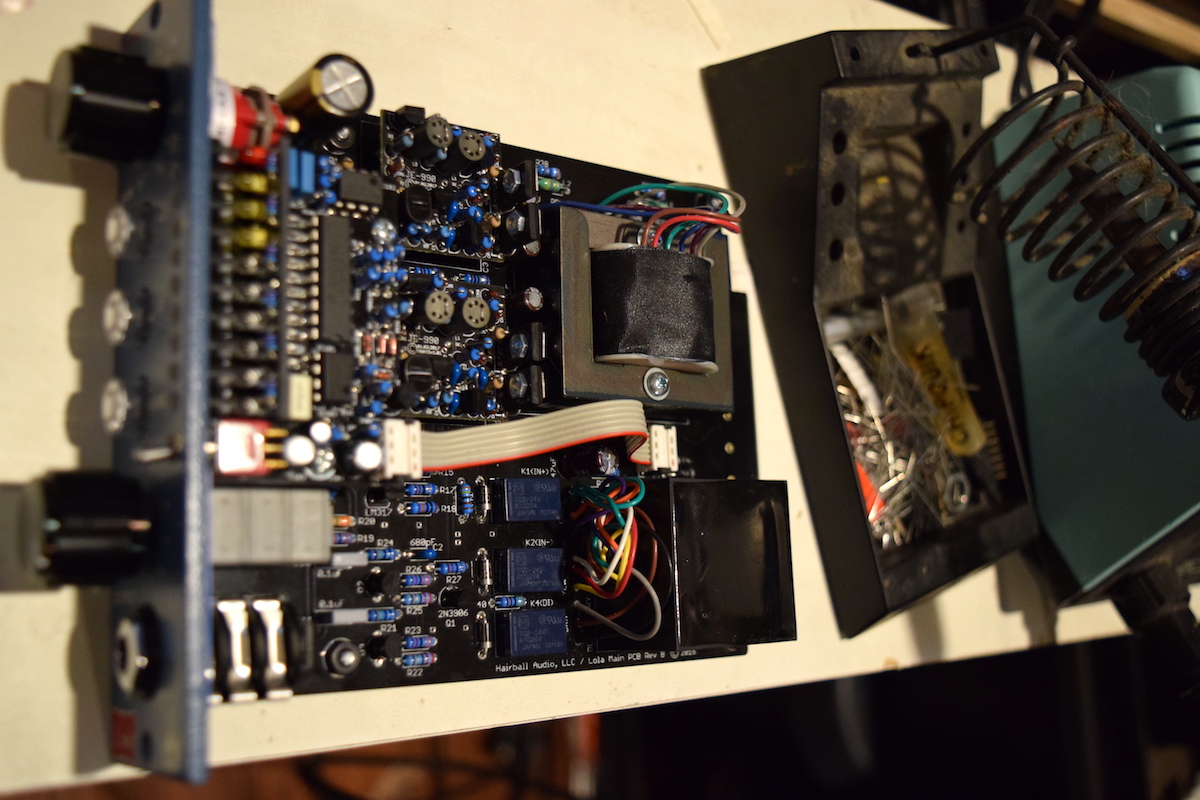
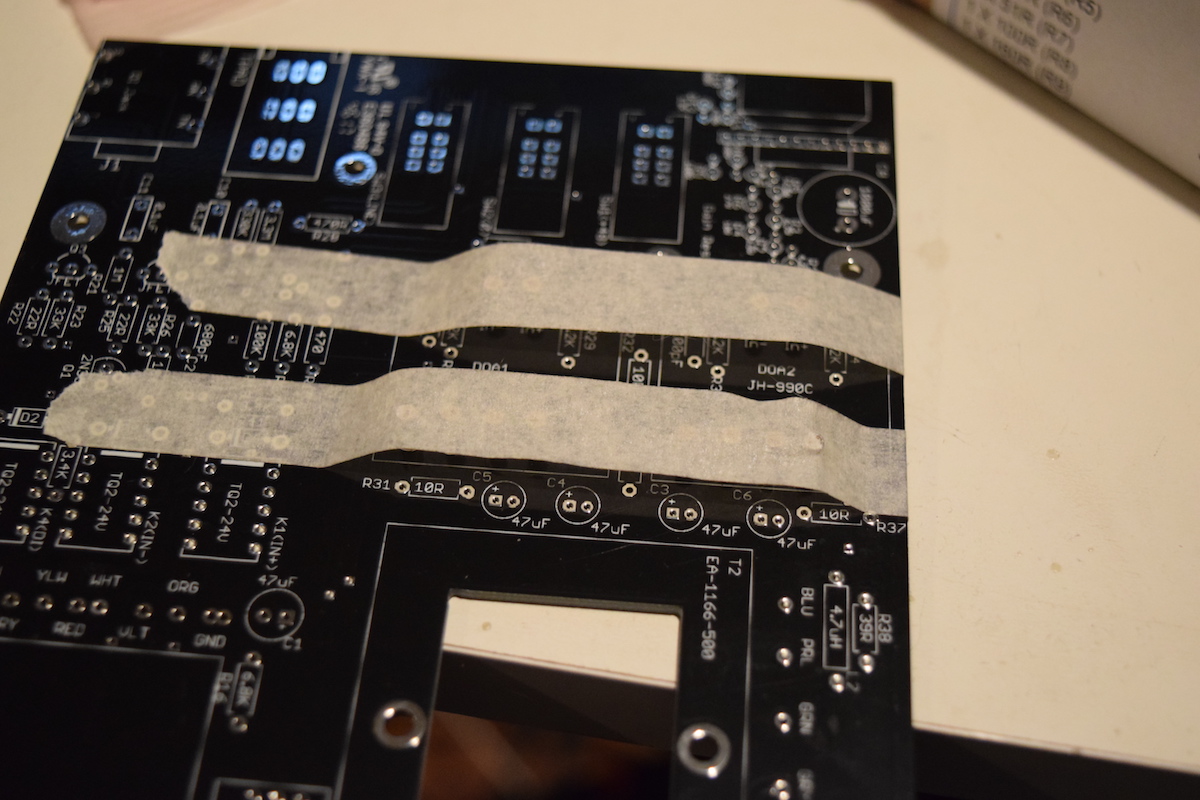
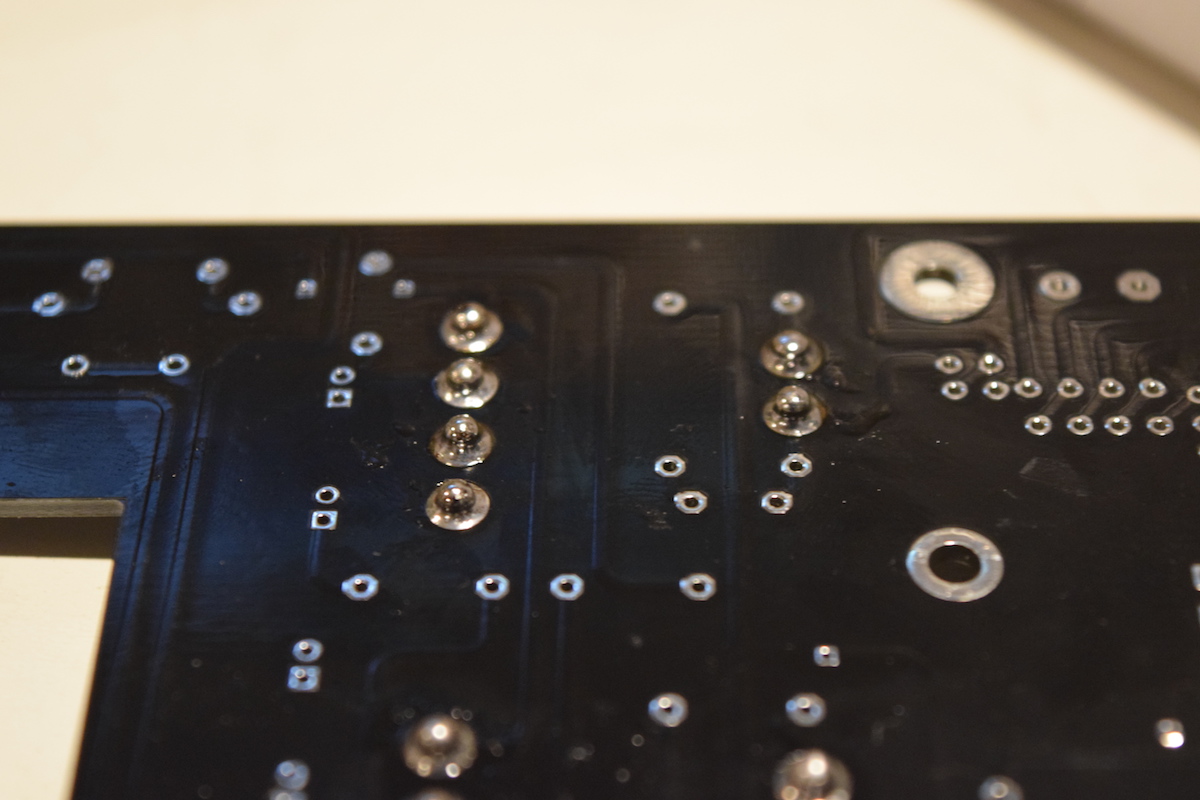
First thing to do is install the op-amp sockets.

I don't have a vise, so I used masking tape to temporarily hold the sockets to the PCB.
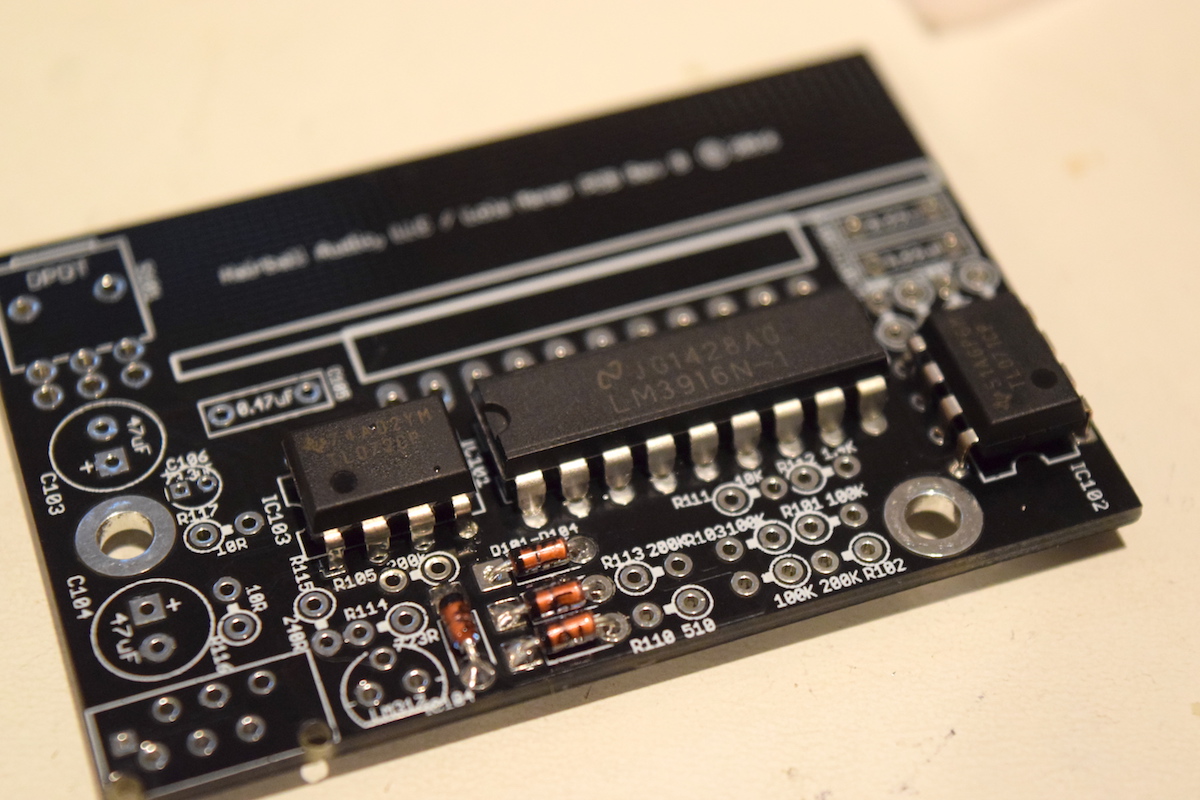
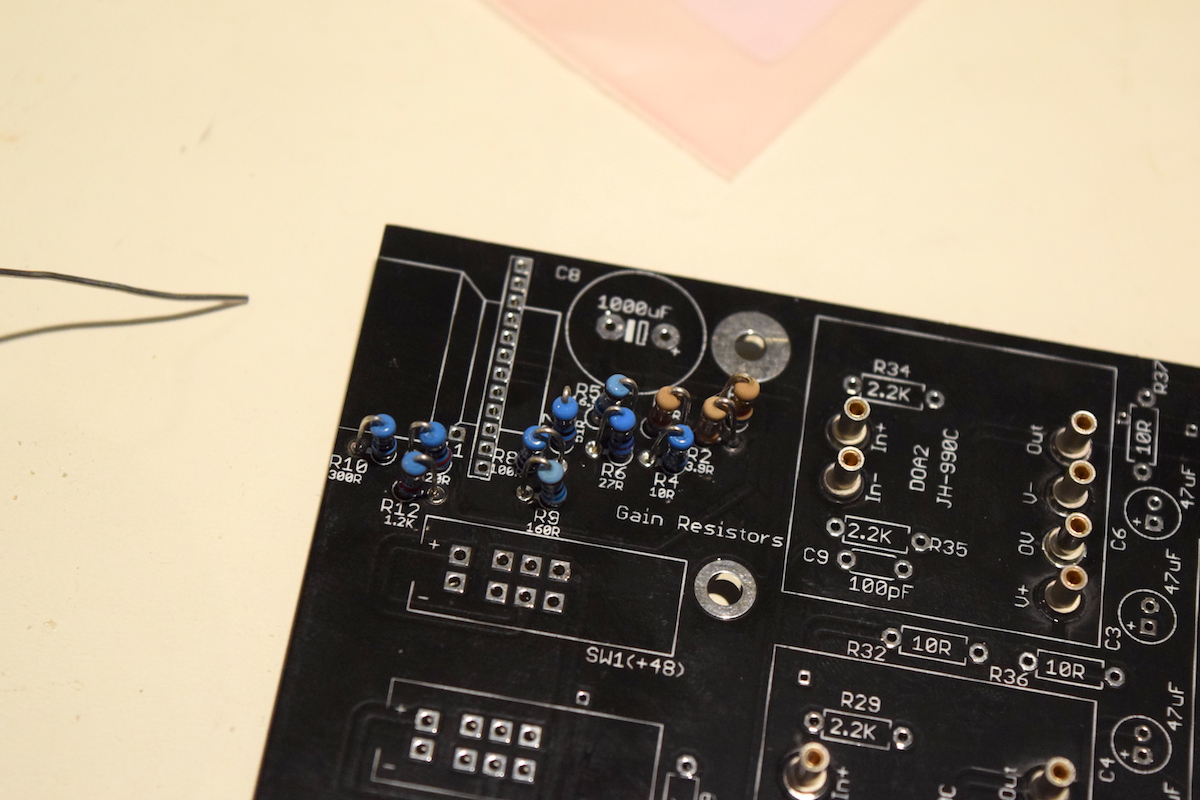
Then the gain resistors.
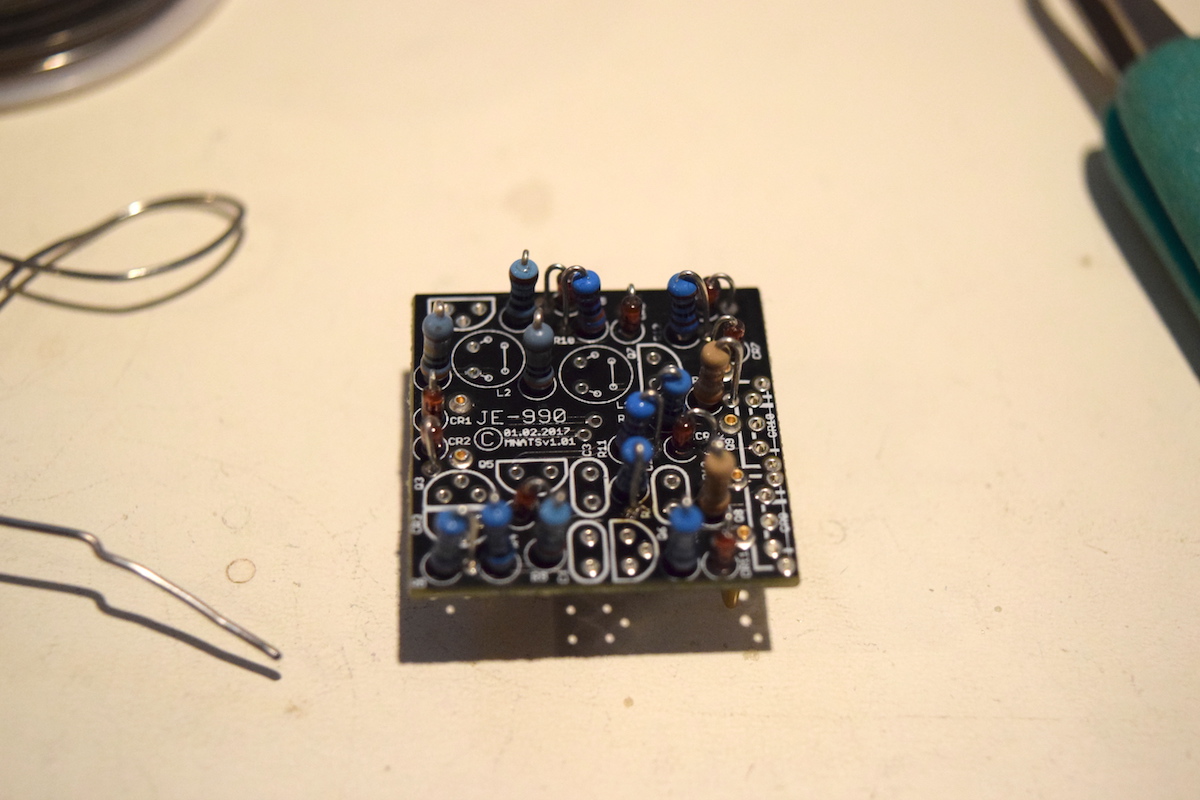
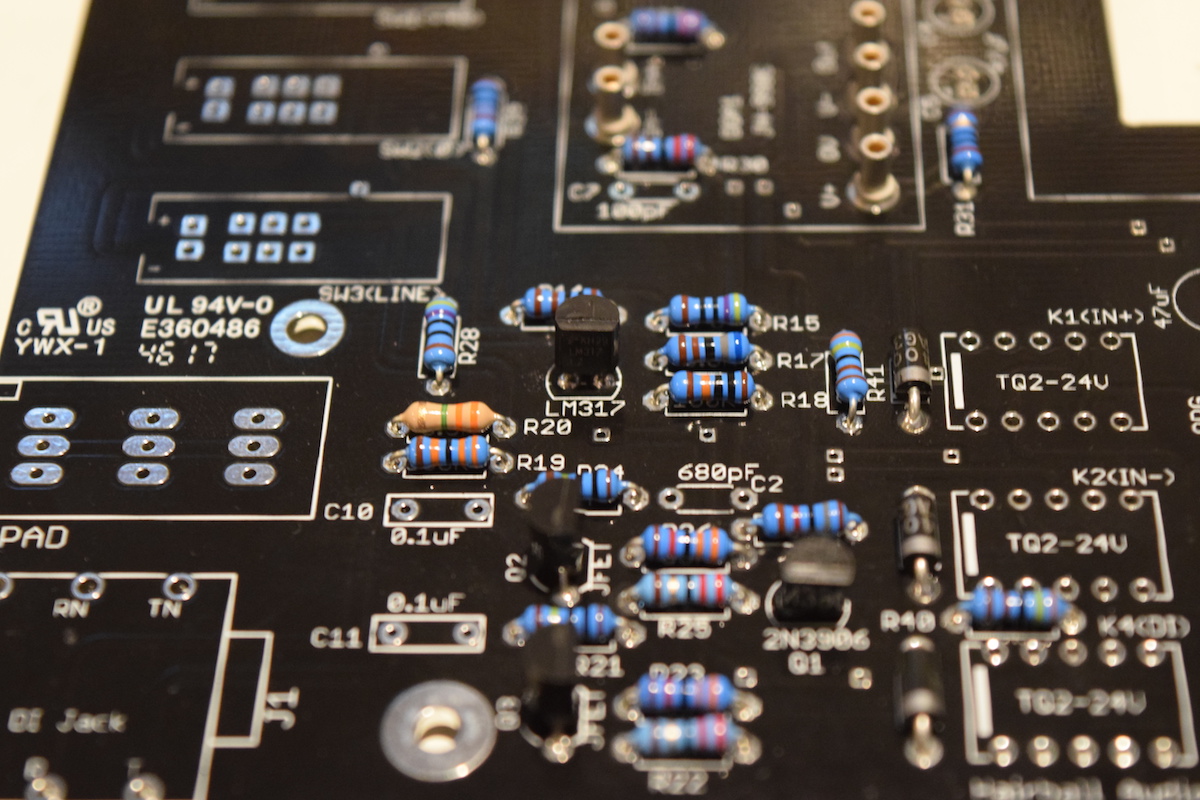
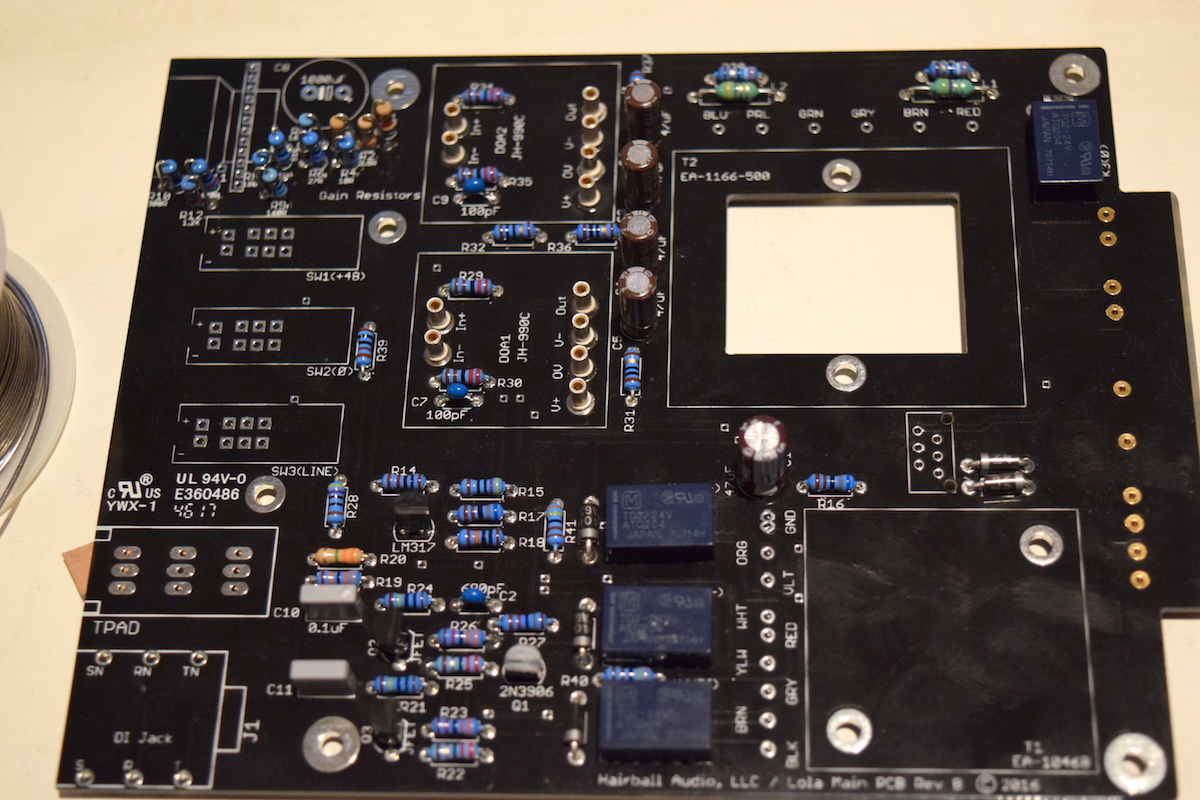
Then the rest of the resistors.

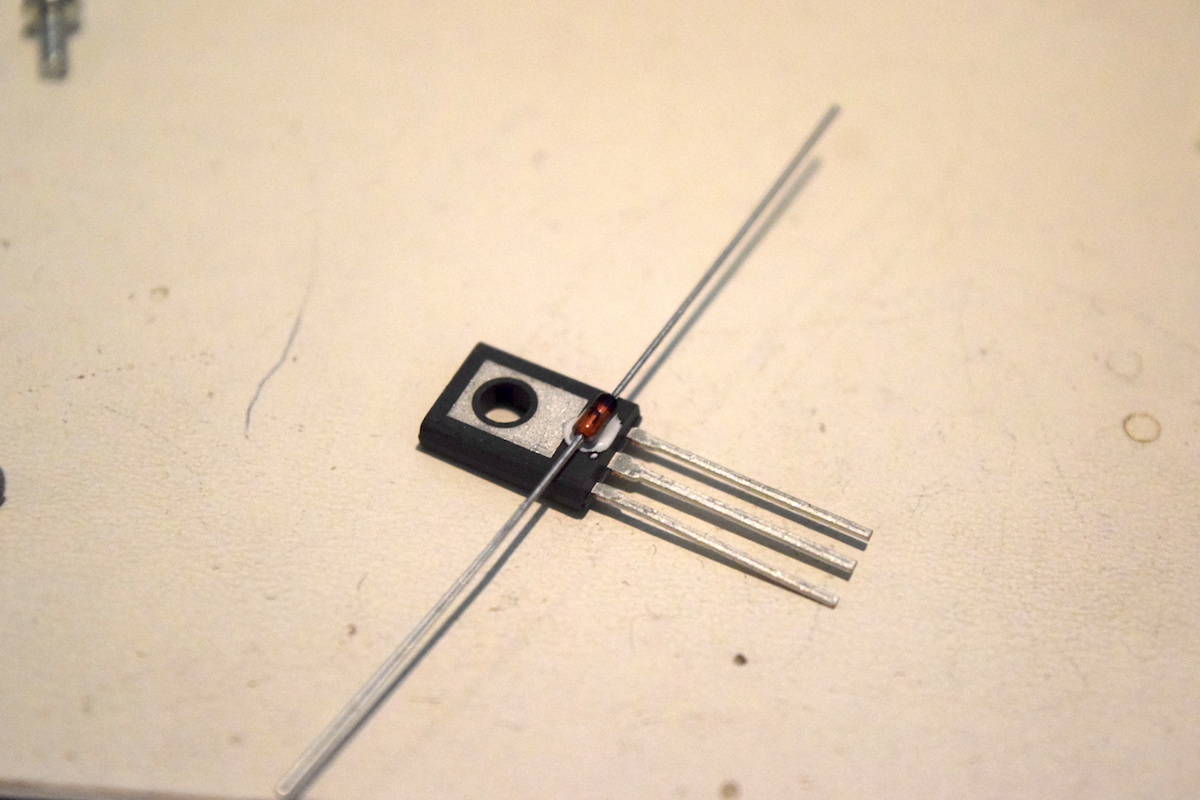
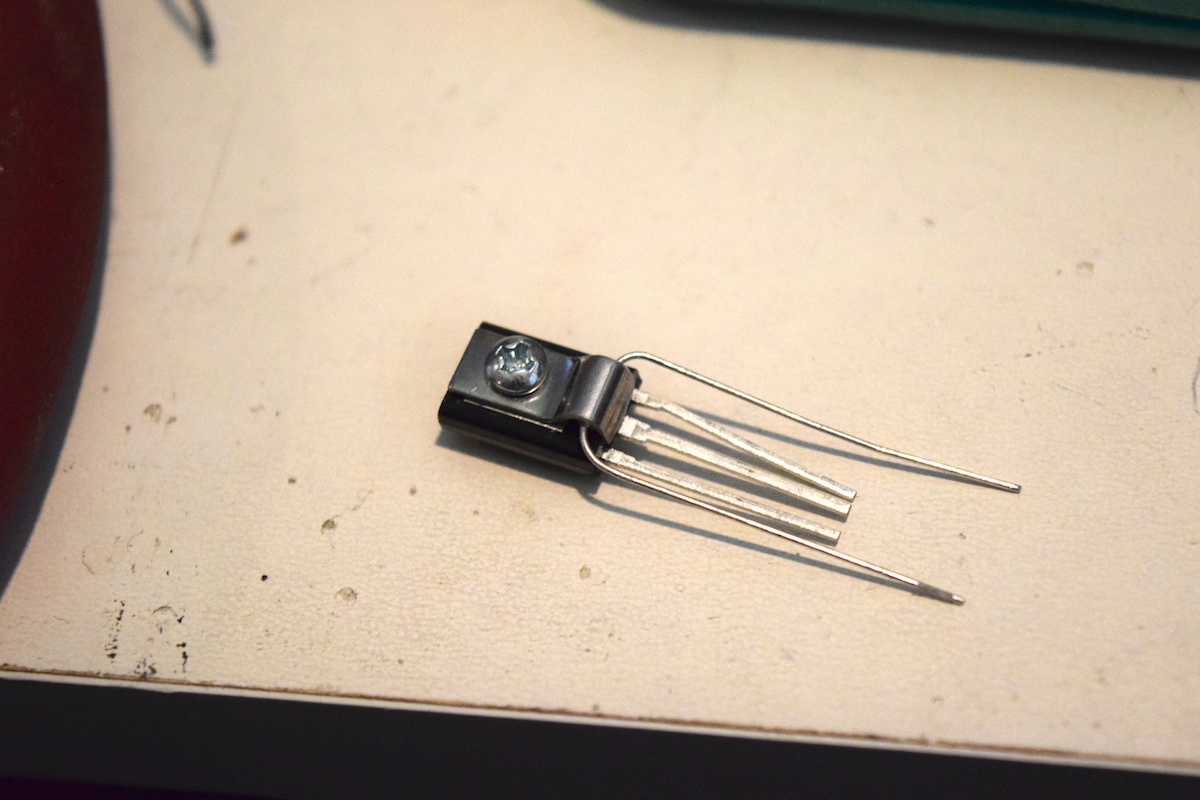
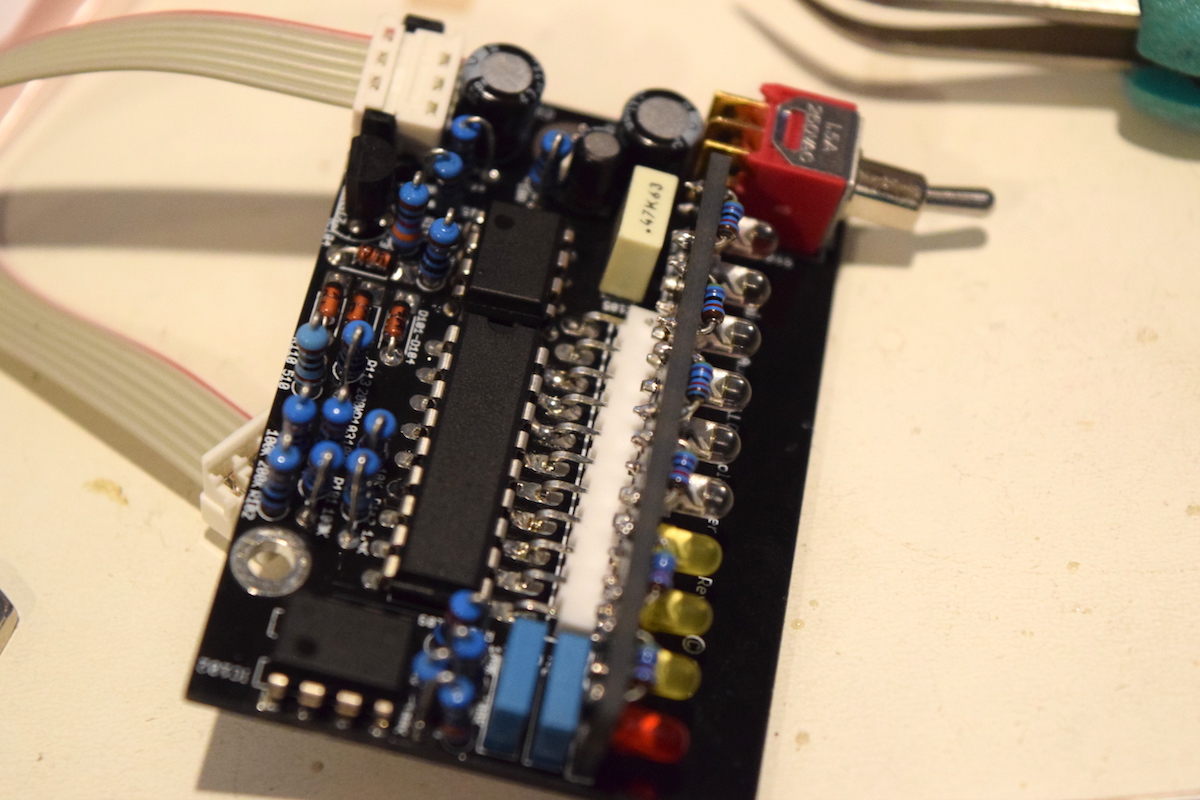
Followed by the diodes and transistors.
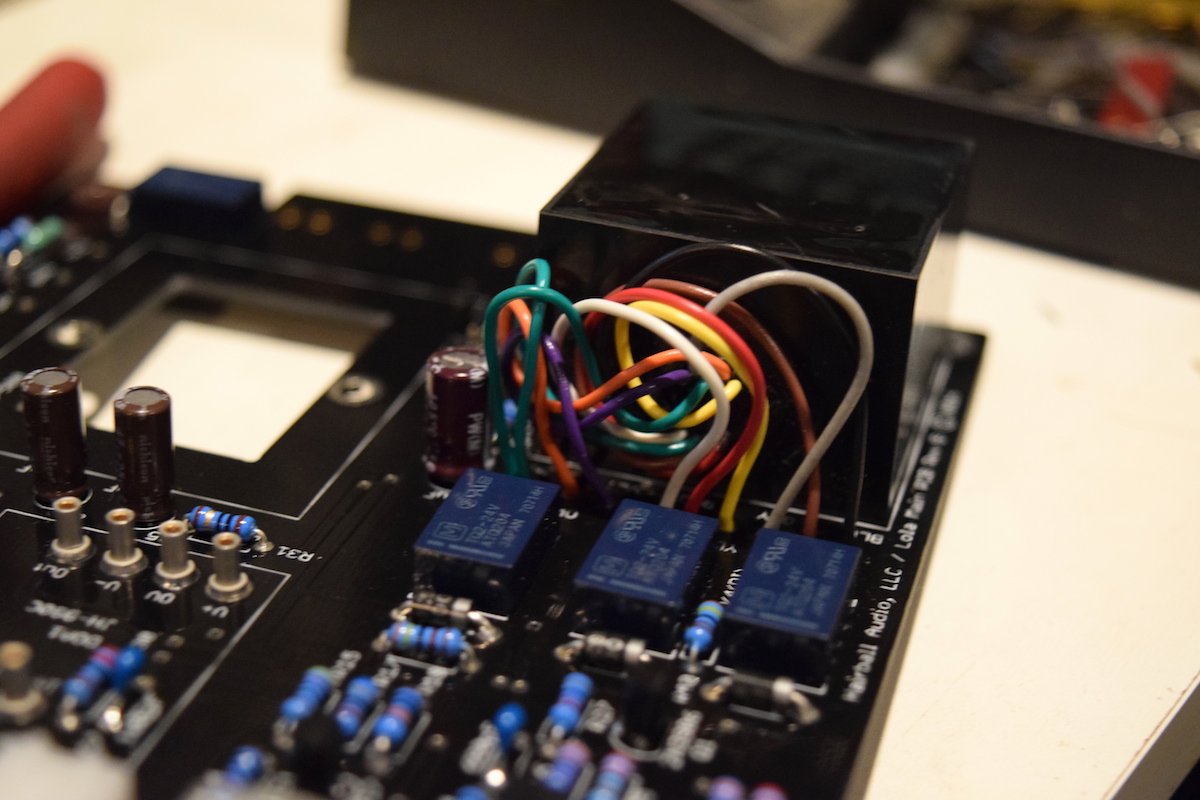
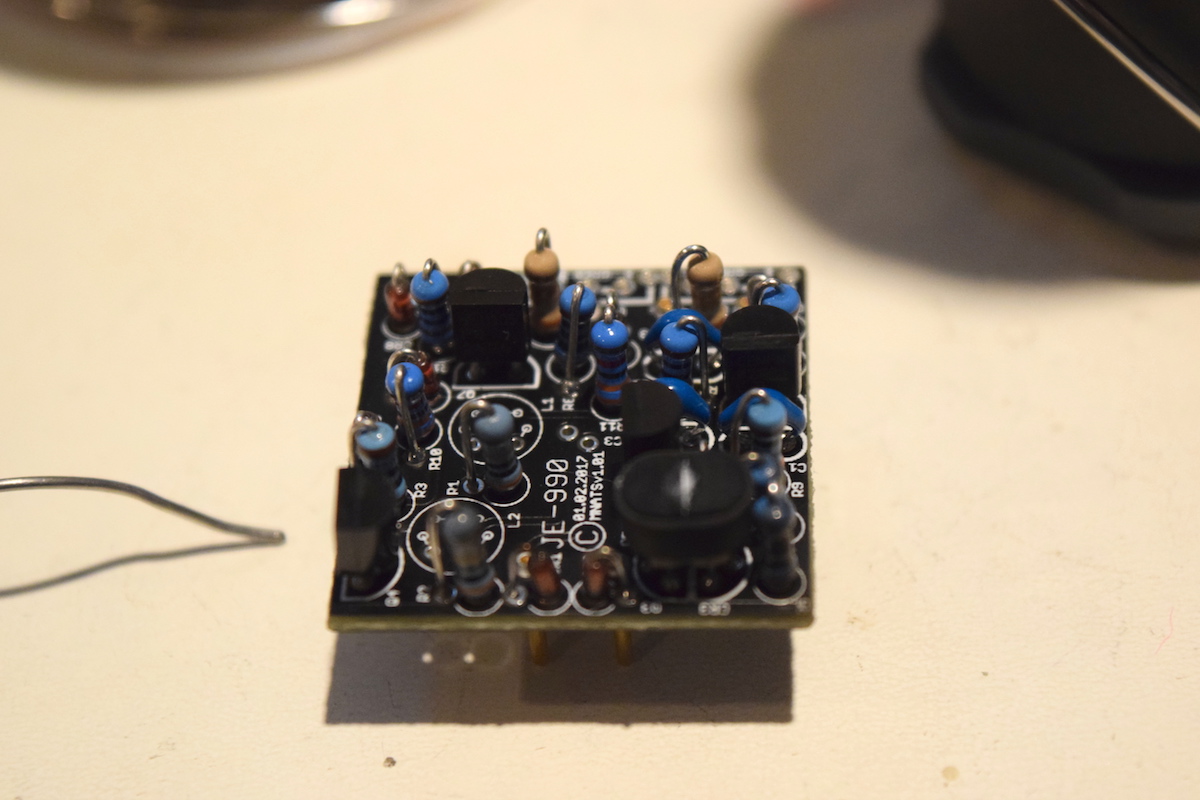
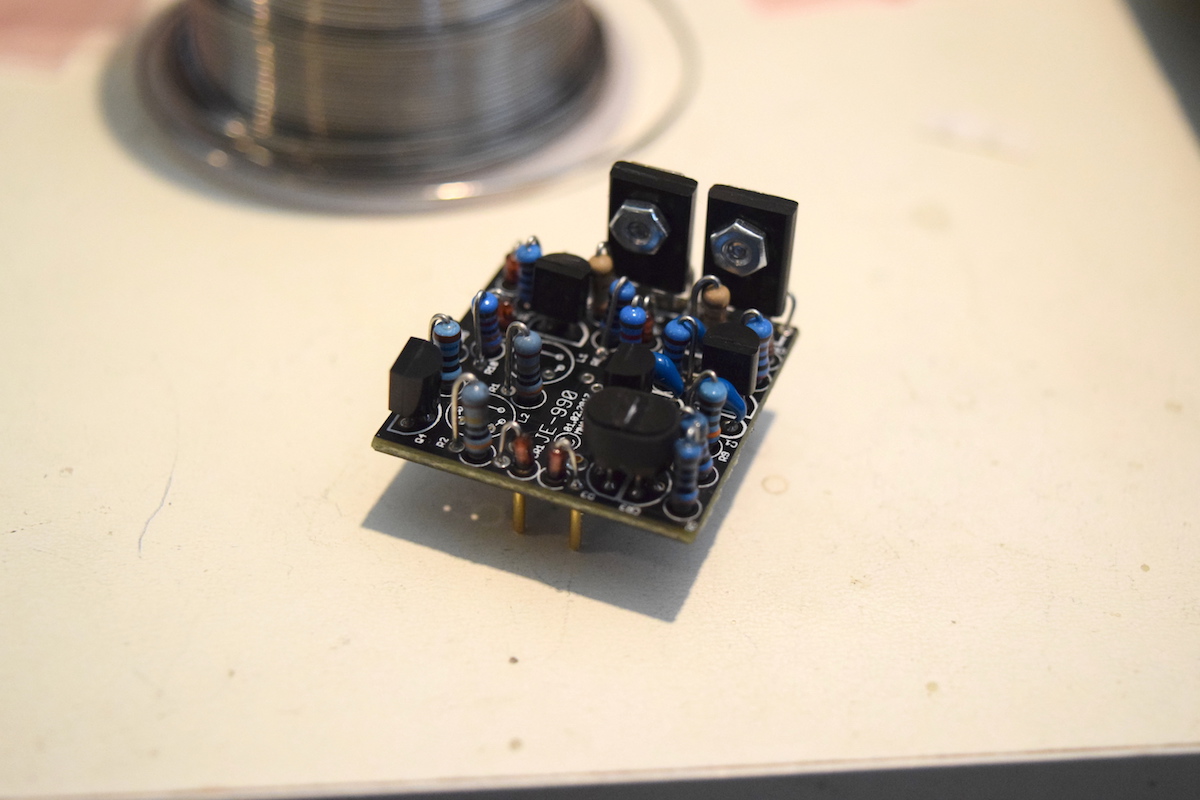
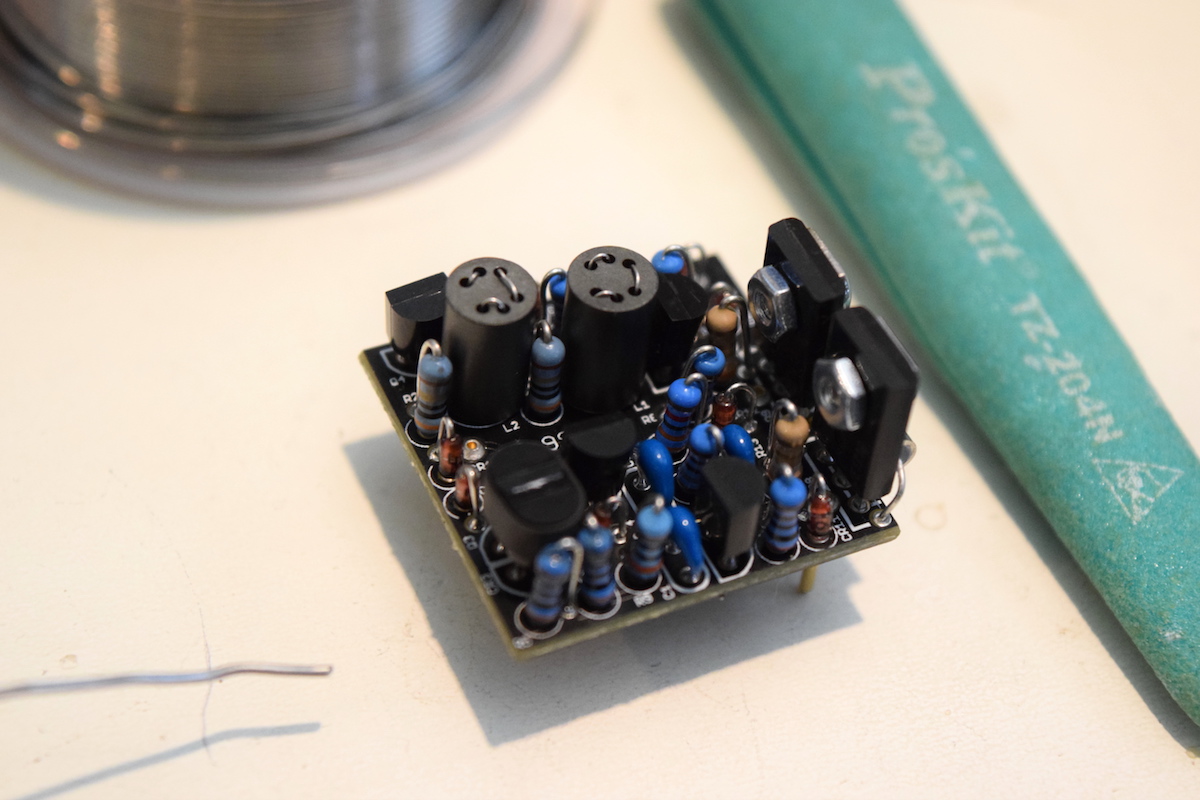
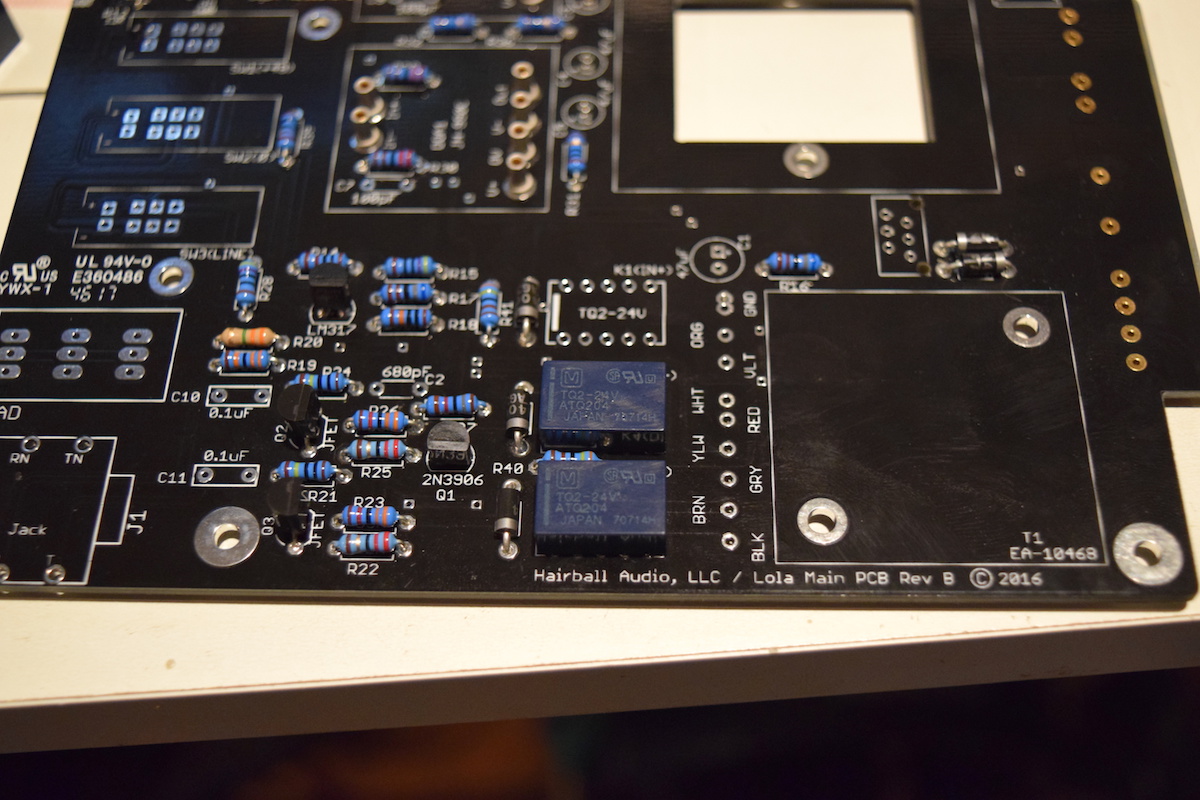
Relays.
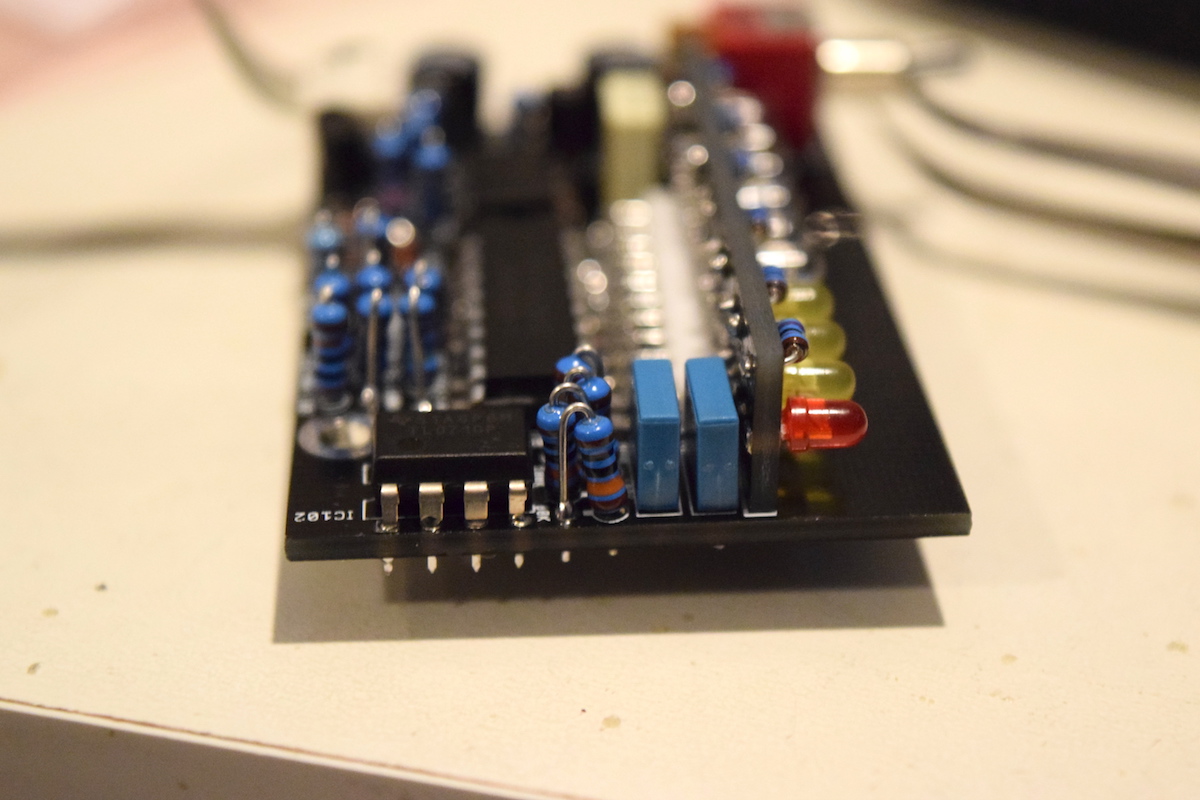
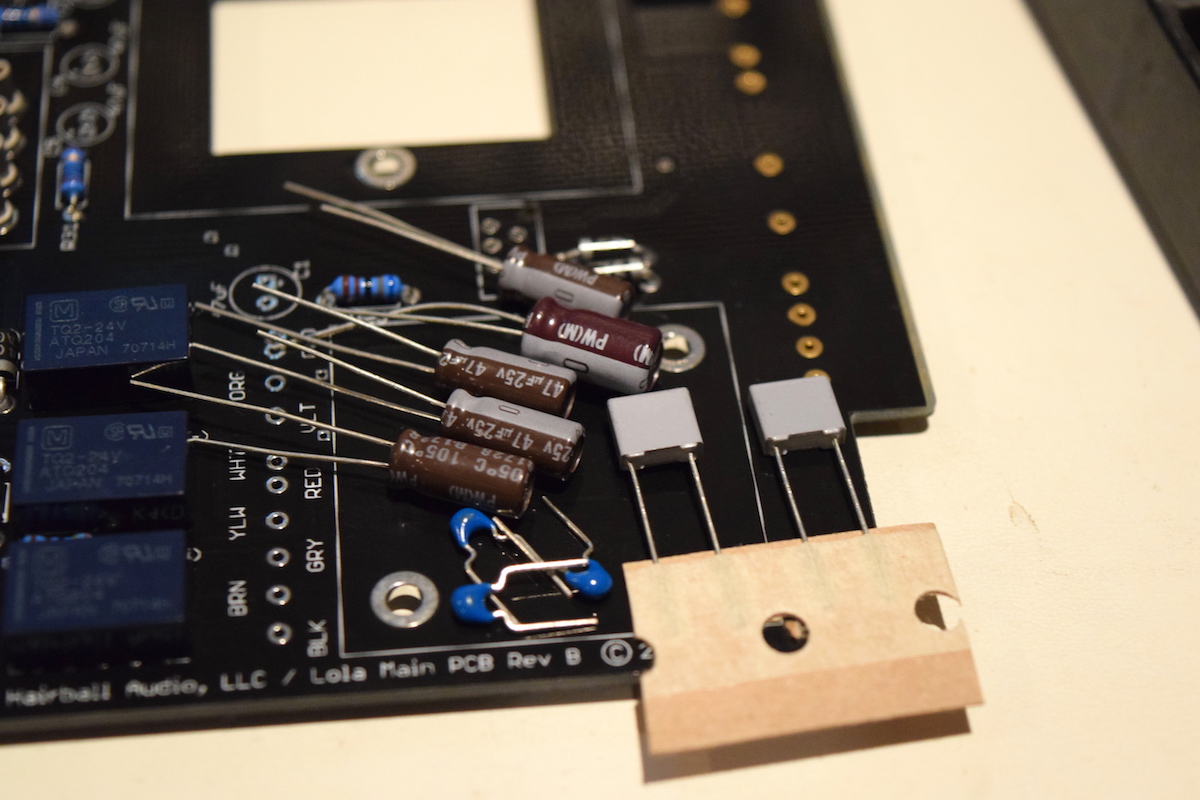
Capacitors.
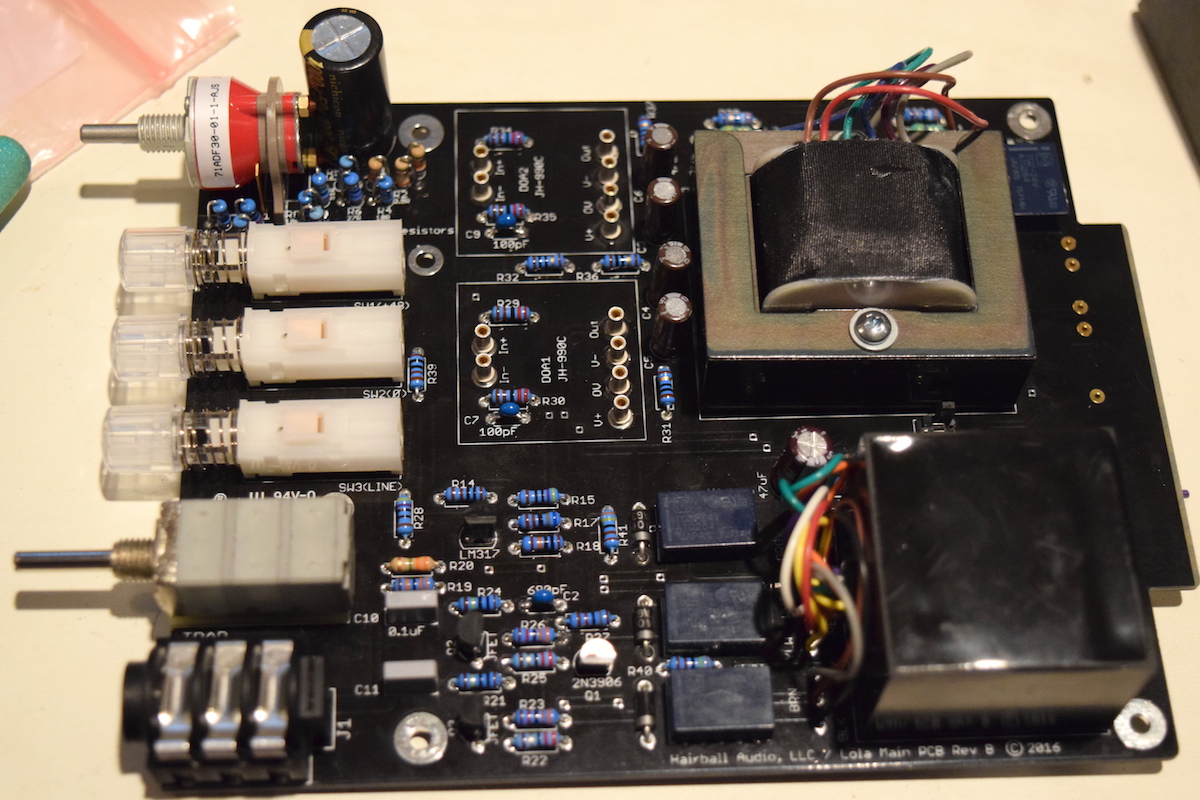
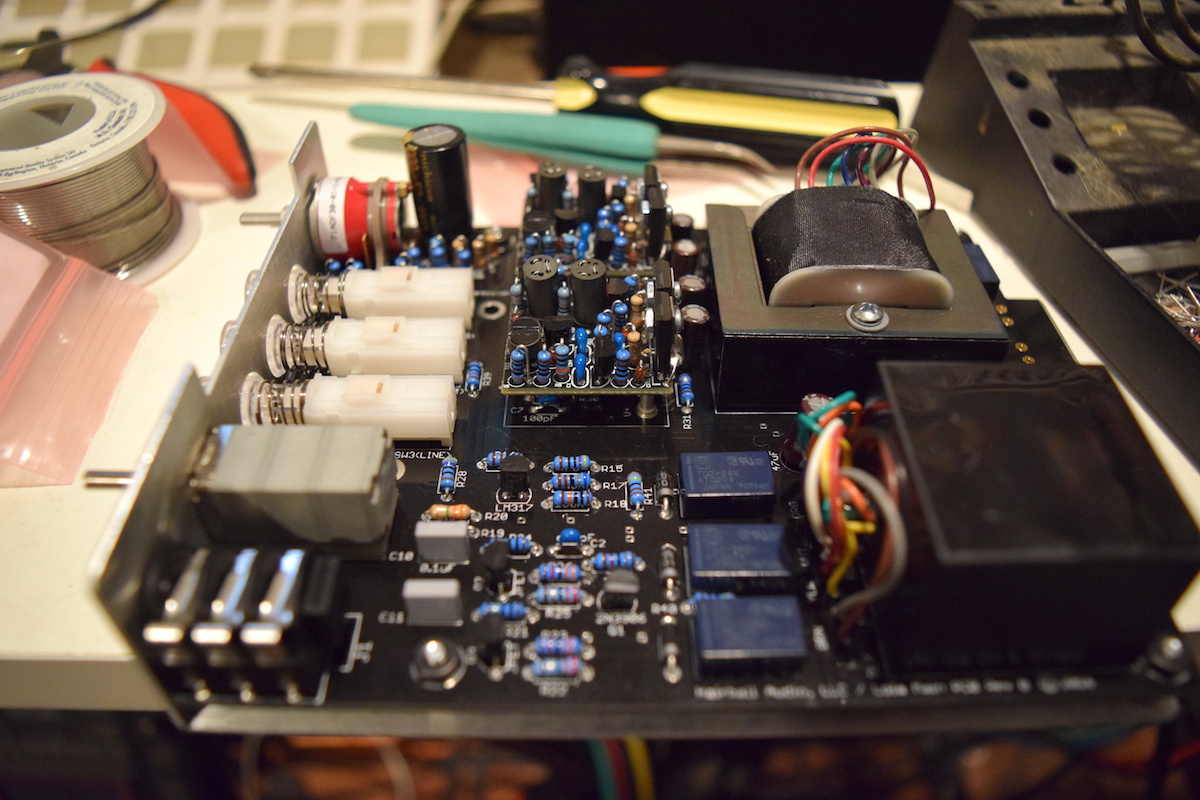
Most of this has been familiar territory for me so far, and the board isn't very dense. A pretty easy build.
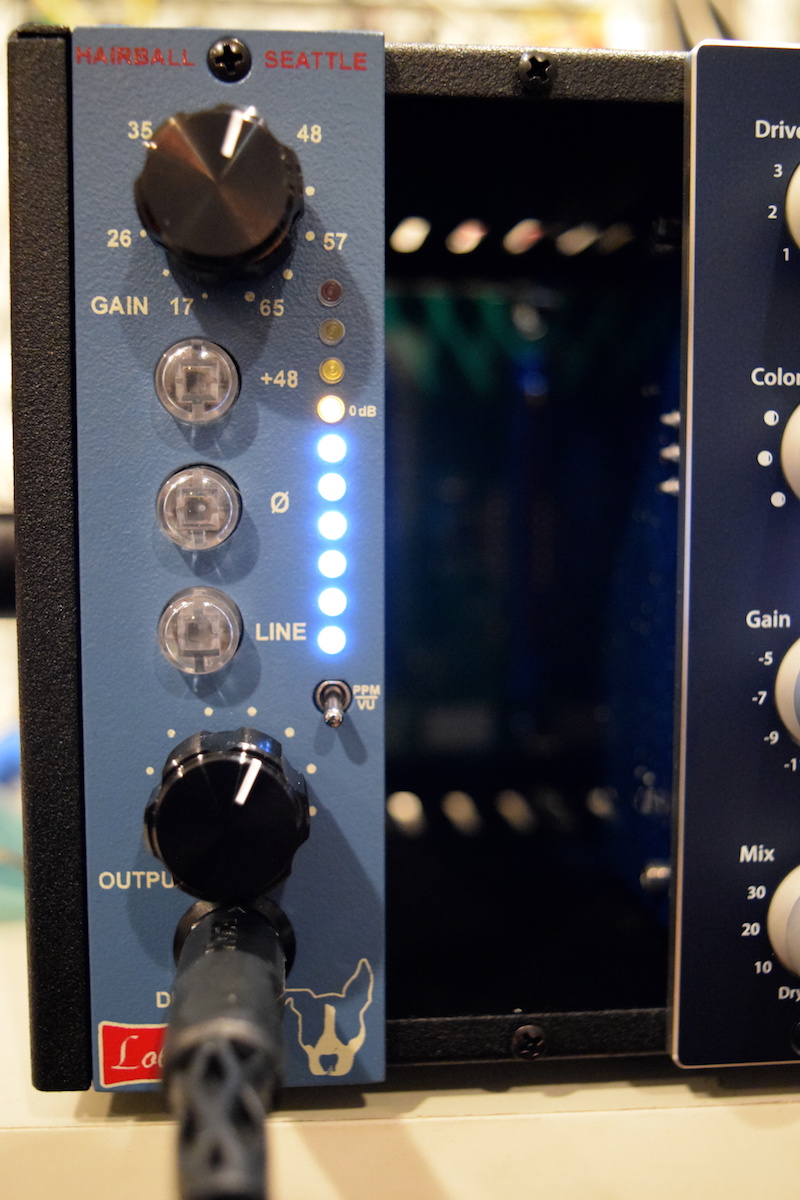
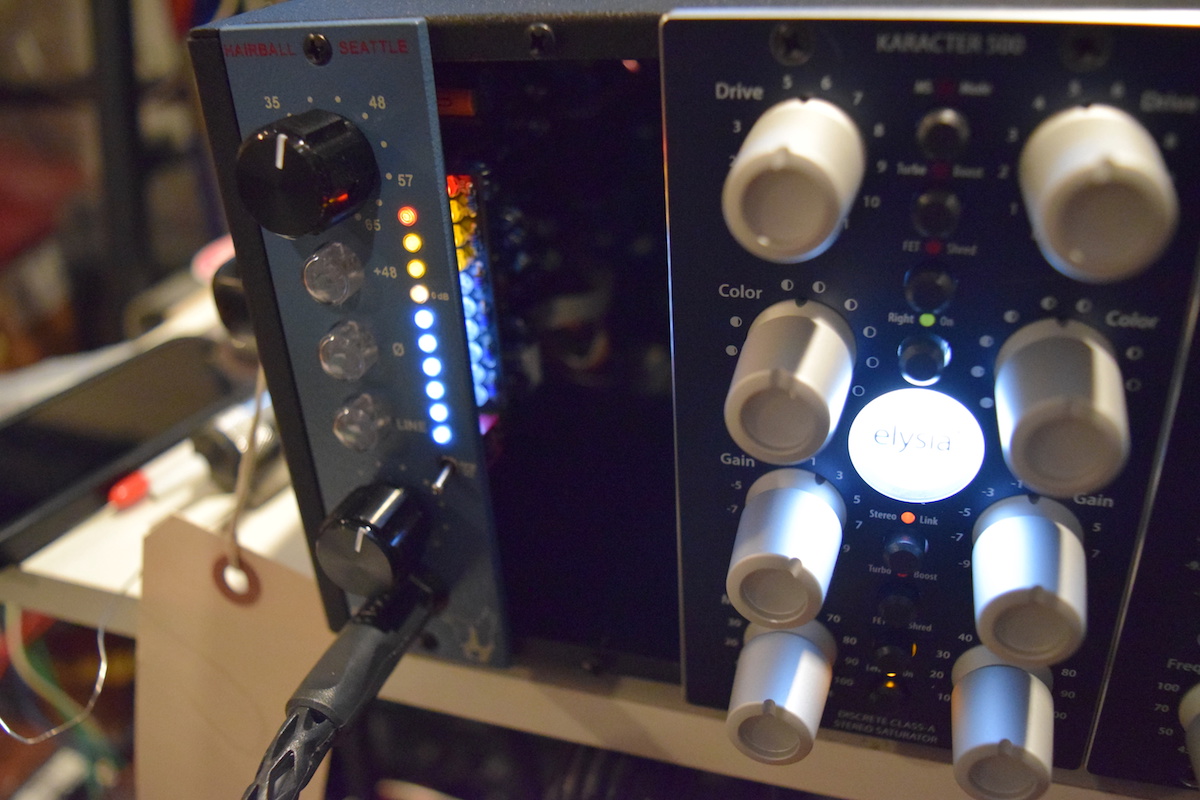
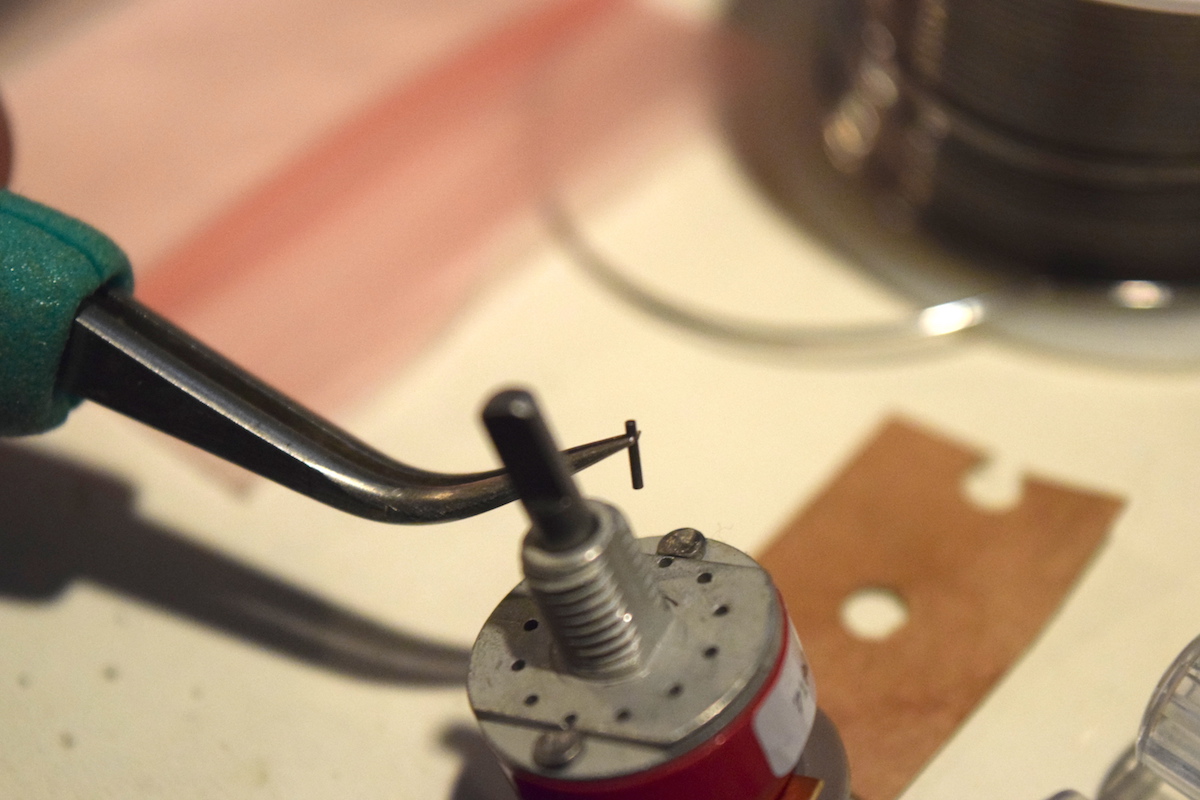
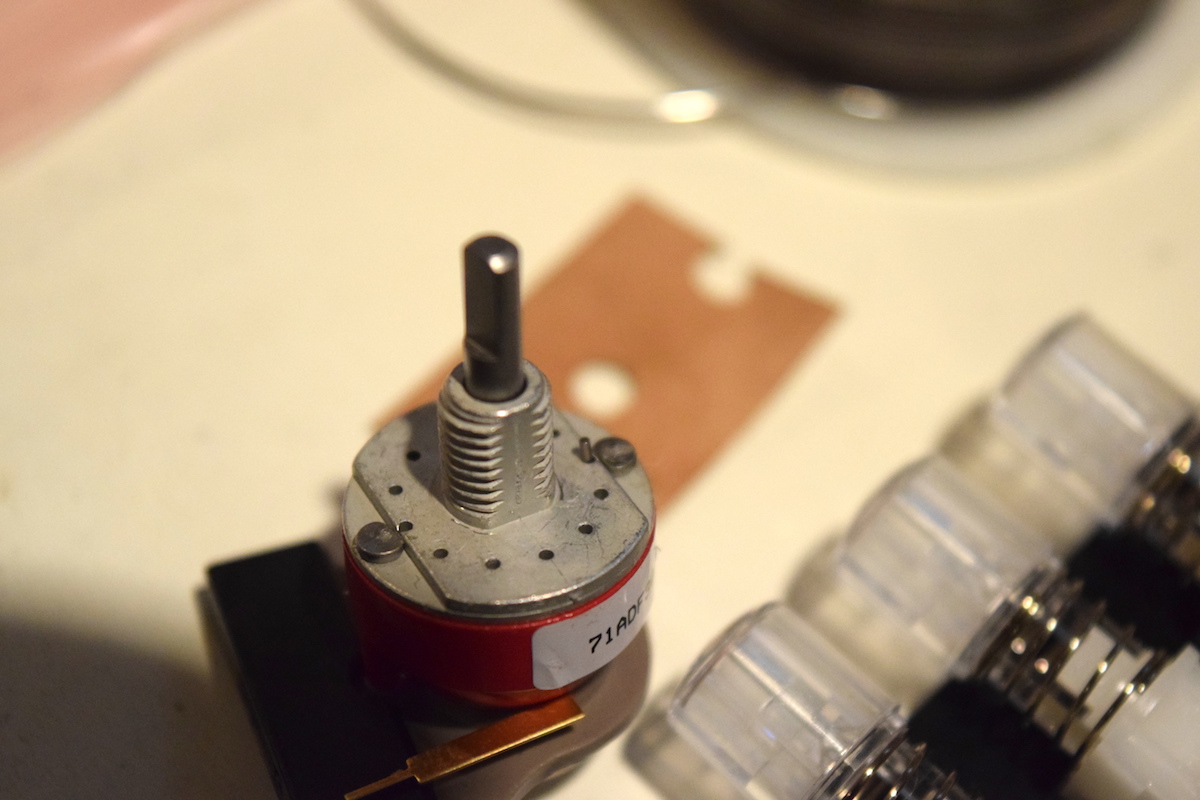
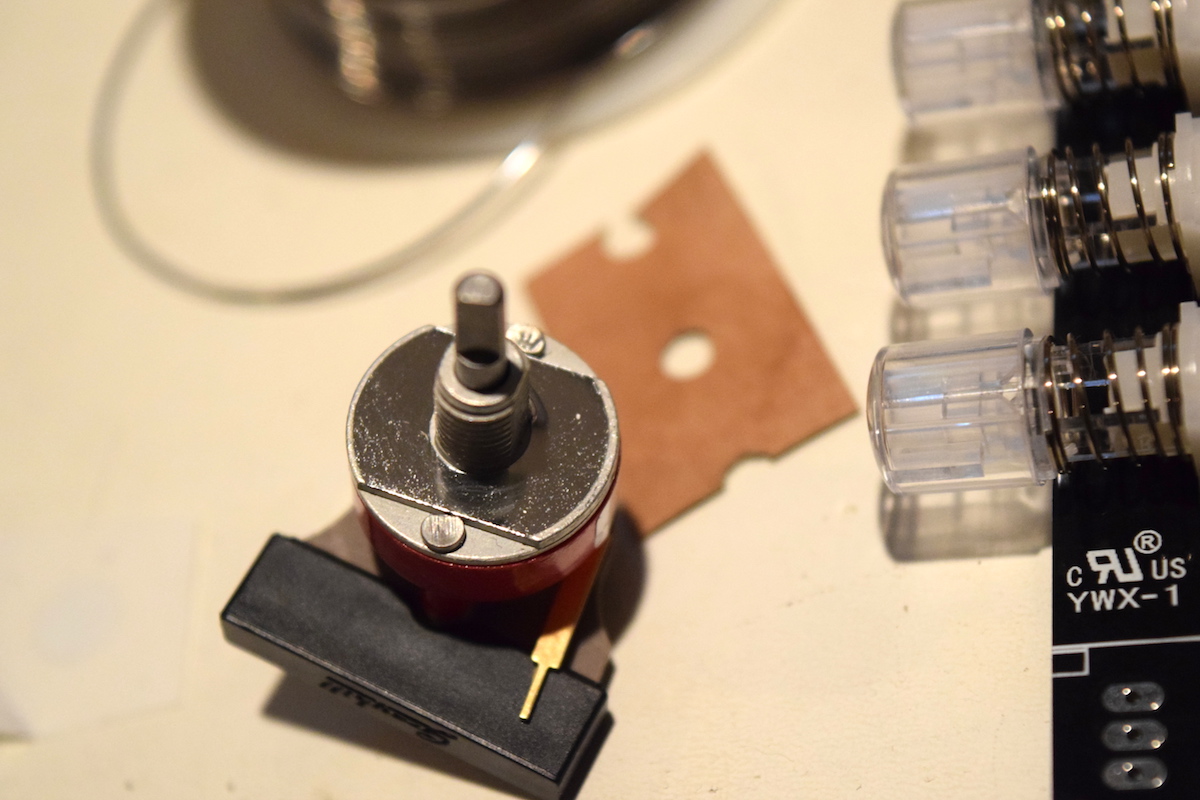
I've never built anything with a multi-position switch like this, so I was very careful when placing the stop pin for the greyhill switch.
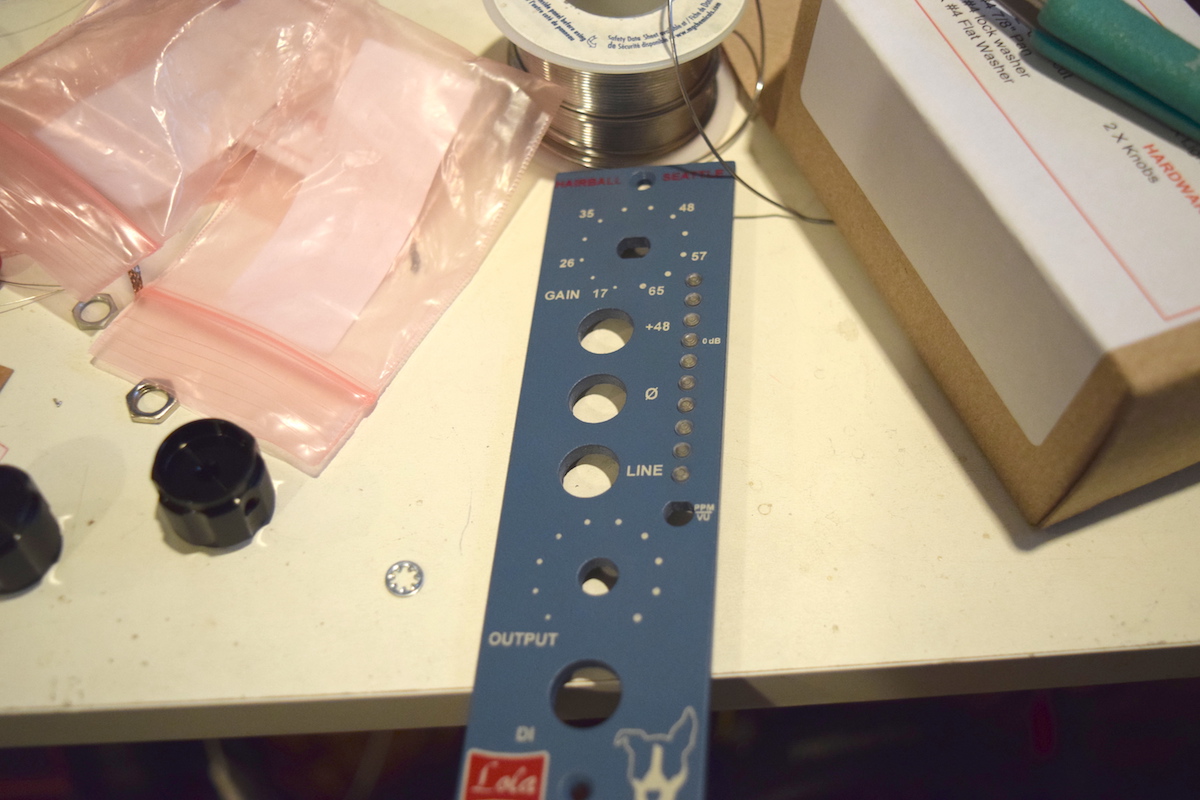
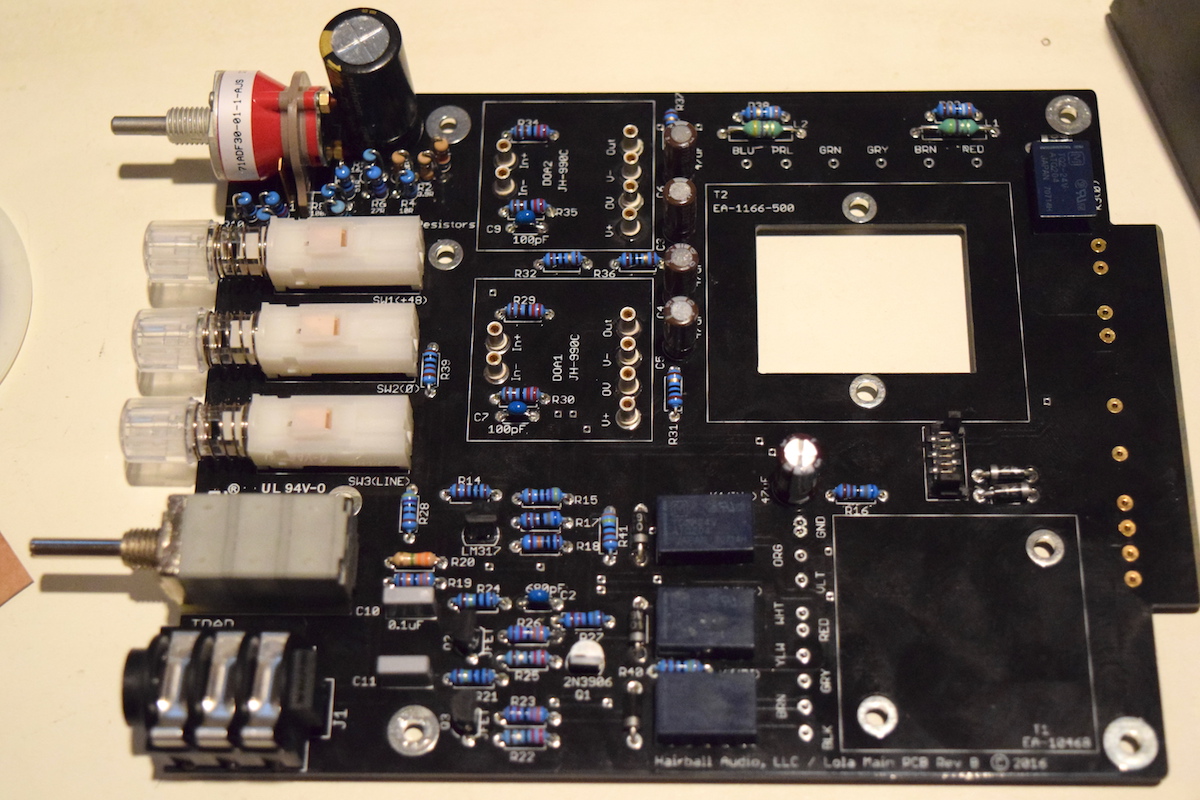
When building synths, I usually mount switches, jacks and pots to the front panel, before soldering them to the PCB. But this build calls for carefully positioning those parts on the PCB before mounting the hardware. Luckily most of the parts snap snugly into place.

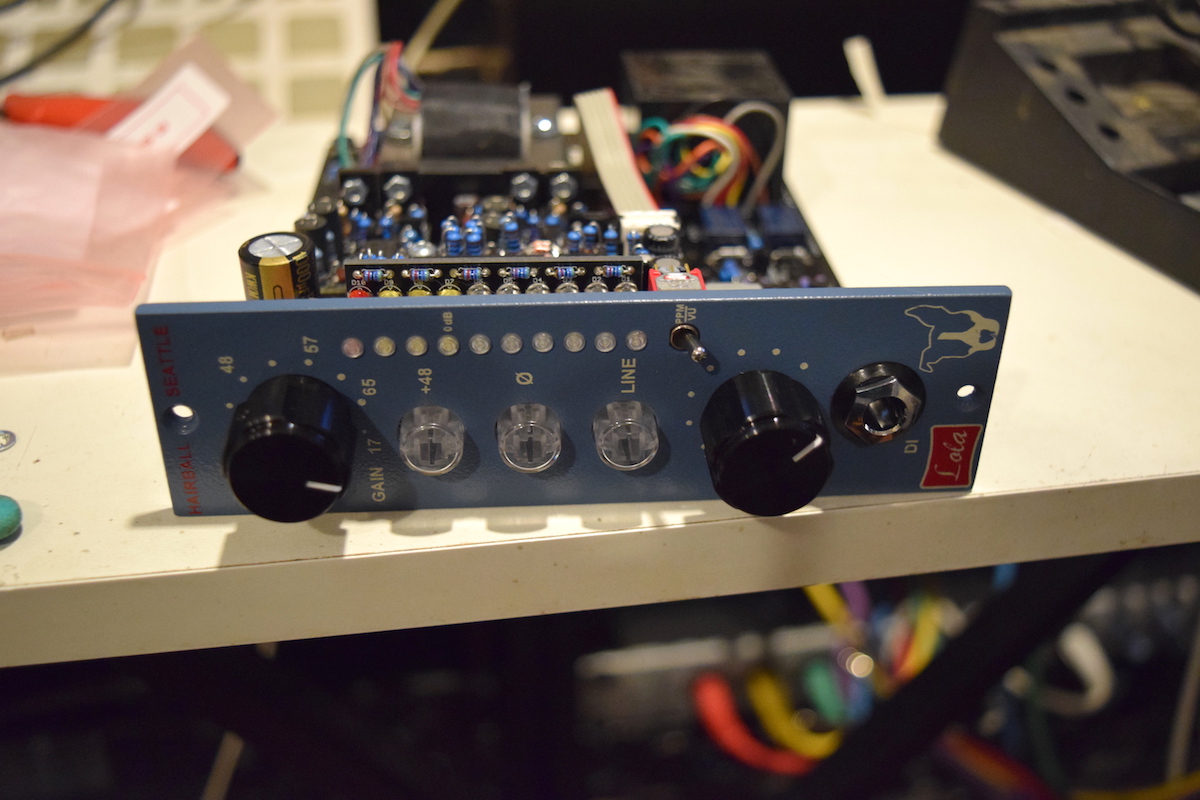
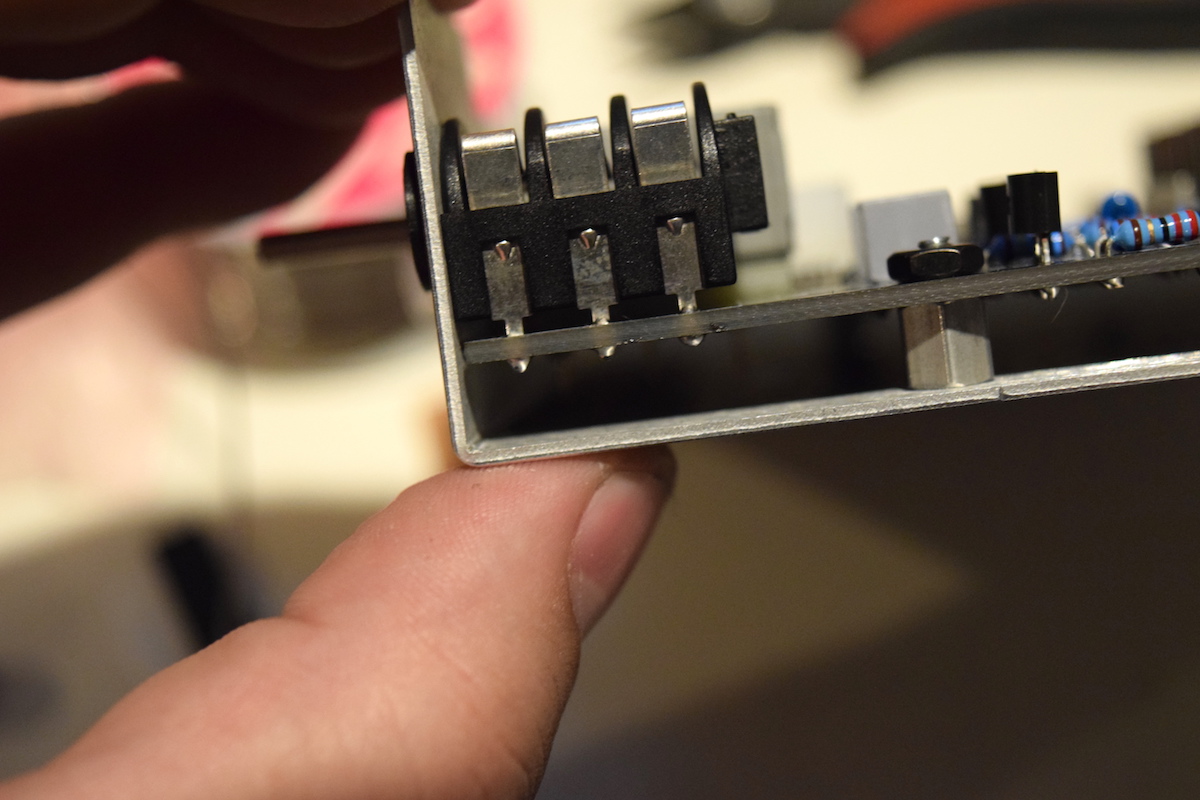
The 1/4" D.I. input jack needs to be mounted, so that it's not flush with the PCB, which wasn't too difficult. Luckily I was following the build guide carefully!
That's it for tonight. I'll post some more, tomorrow.