
I found some additional information, including links to the service manual for calibration and a build guide, here: https://www.dsl-man.de/display/TTSHADDONS/Arp1601
The kit from synthcube also includes a simple clock divider: https://github.com/foxacid/1601-addons
The kit was very easy to assemble, it took about 12 hours total and the mechanical assembly was pretty straight forward. That said, the documentation for the build is a bit scattered. For example, I couldn't find the bom pdf for the rev 5 board on the synthcube site. I eventually found the links in a post in the build thread. Luckily most of the baggies which contained the components, listed their part numbers. I didn't see a wiring diagram, but the connections are pretty simple.
When i opened the package from Synthcube, I was surprised to find that the circuit board is practically the size of a skate board.


I got one of these tools for bending component legs with something I assembled recently. Comes in handy when building projects with lots of diodes and resistors (this project has more than 200 resistors!).


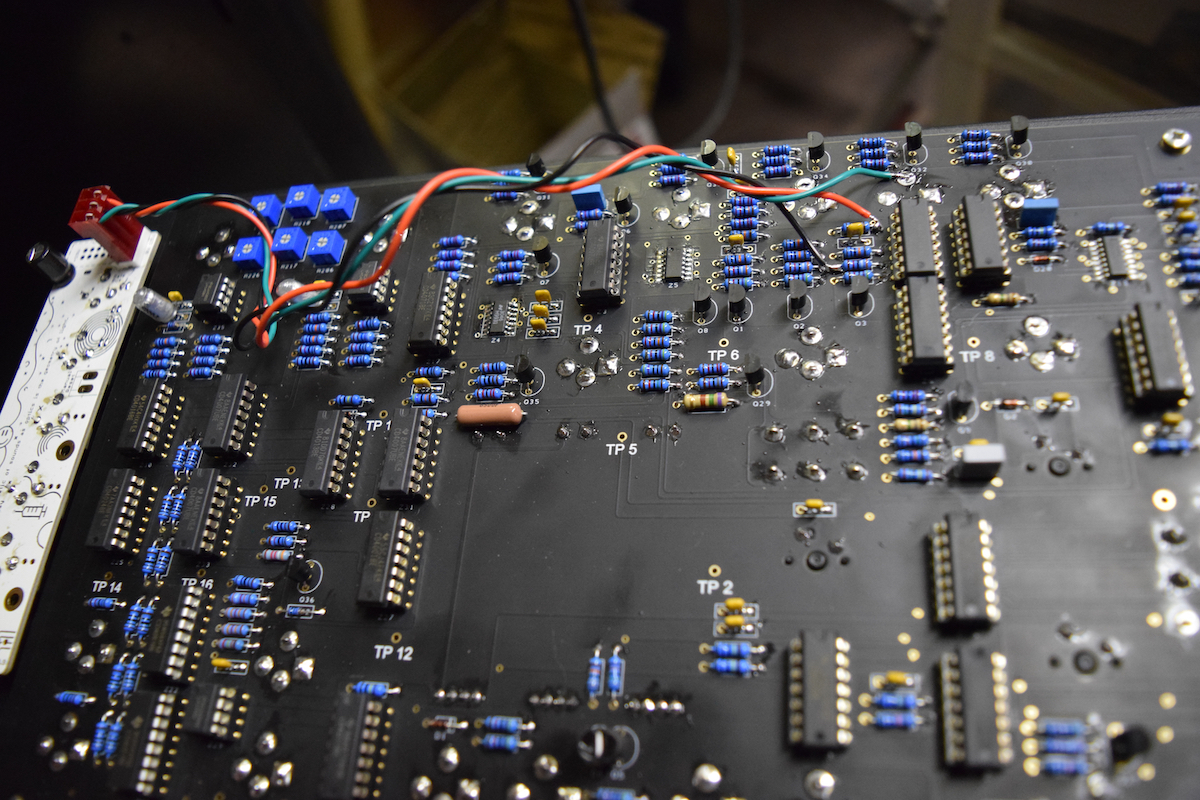
Three SOIC packages are the only SMT parts on this board. The rest of the parts are thru-hole.


All resistors and sockets done.


Caps.


Voltage regulator.

Trimmers.

Faders, jacks and push-button switches.


The included switches don't fit in this version of the circuit board. I followed the suggestion of someone on the MW forum, and simply twisted the top and bottom leads, 90 degrees.


The 1/4" foot switch jack didn't fit in either of the pre-drilled holes, so I widened one of them a bit.


Finally, I assembled the clock divider. This is mostly surface mount parts.


All done!


