The Apogee Guide To Voiceover Recording, Part 1

Voice Actor Jeremiah Mullins on Getting Started
 FIRST STEPS TO BECOMING A VOICEOVER ACTOR
Mullins' number one piece of advice for aspiring voice actors is simple, but it can be a hard lesson to learn: start by simply enjoying your craft and honing your skills before worrying about making any money.
"Get rid of the thought of a career," says Mullins. "Get rid of the thought of, 'What could this be someday?' I'm not saying don't dream, but don't lose sight of what really matters. I would encourage anybody who's looking to get into this kind of thing to simply fall in love with the craft first. It's the same way with the guitar. You're not thinking about, 'How do I start making money with this guitar?' It's like, 'Oh man, I need to learn my scales.'"
Once you're sure that voice acting is really for you, and perhaps you've gotten your feet wet with some small-scale projects for friends, the next step is to focus on improving your craft. There are plenty of free resources available online, but Mullins recommends seeking out formal training if you can.
"If you're a voice actor, first and foremost you are an actor," Mullins explains. "So, after you've fallen in love with the craft, take acting classes. Take every opportunity to be with other actors. Find a coach. Find a mentor who could let you know, 'Hey, you're actually pretty good. Here's what you need to be working on.'"
BUILDING A VOICEOVER SETUP
Unless you have the privilege of going into a professional studio on your clients' dime (which is increasingly rare these days), you're going to need some way to record yourself. Your voiceover setup can be as streamlined or well-equipped as your budget allows, but even your phone is a great place to start.
"I know people who have sent in auditions from their phone, driving on the 405, and they've booked the gig," Mullins says. "That's an anomaly, but it can happen."
Of course, you'll need an app or software to record with, as well. Mullins recommends Apogee MetaRecorder for iOS recording and Logic Pro for Mac users. PC users should look into Reaper or Pro Tools.
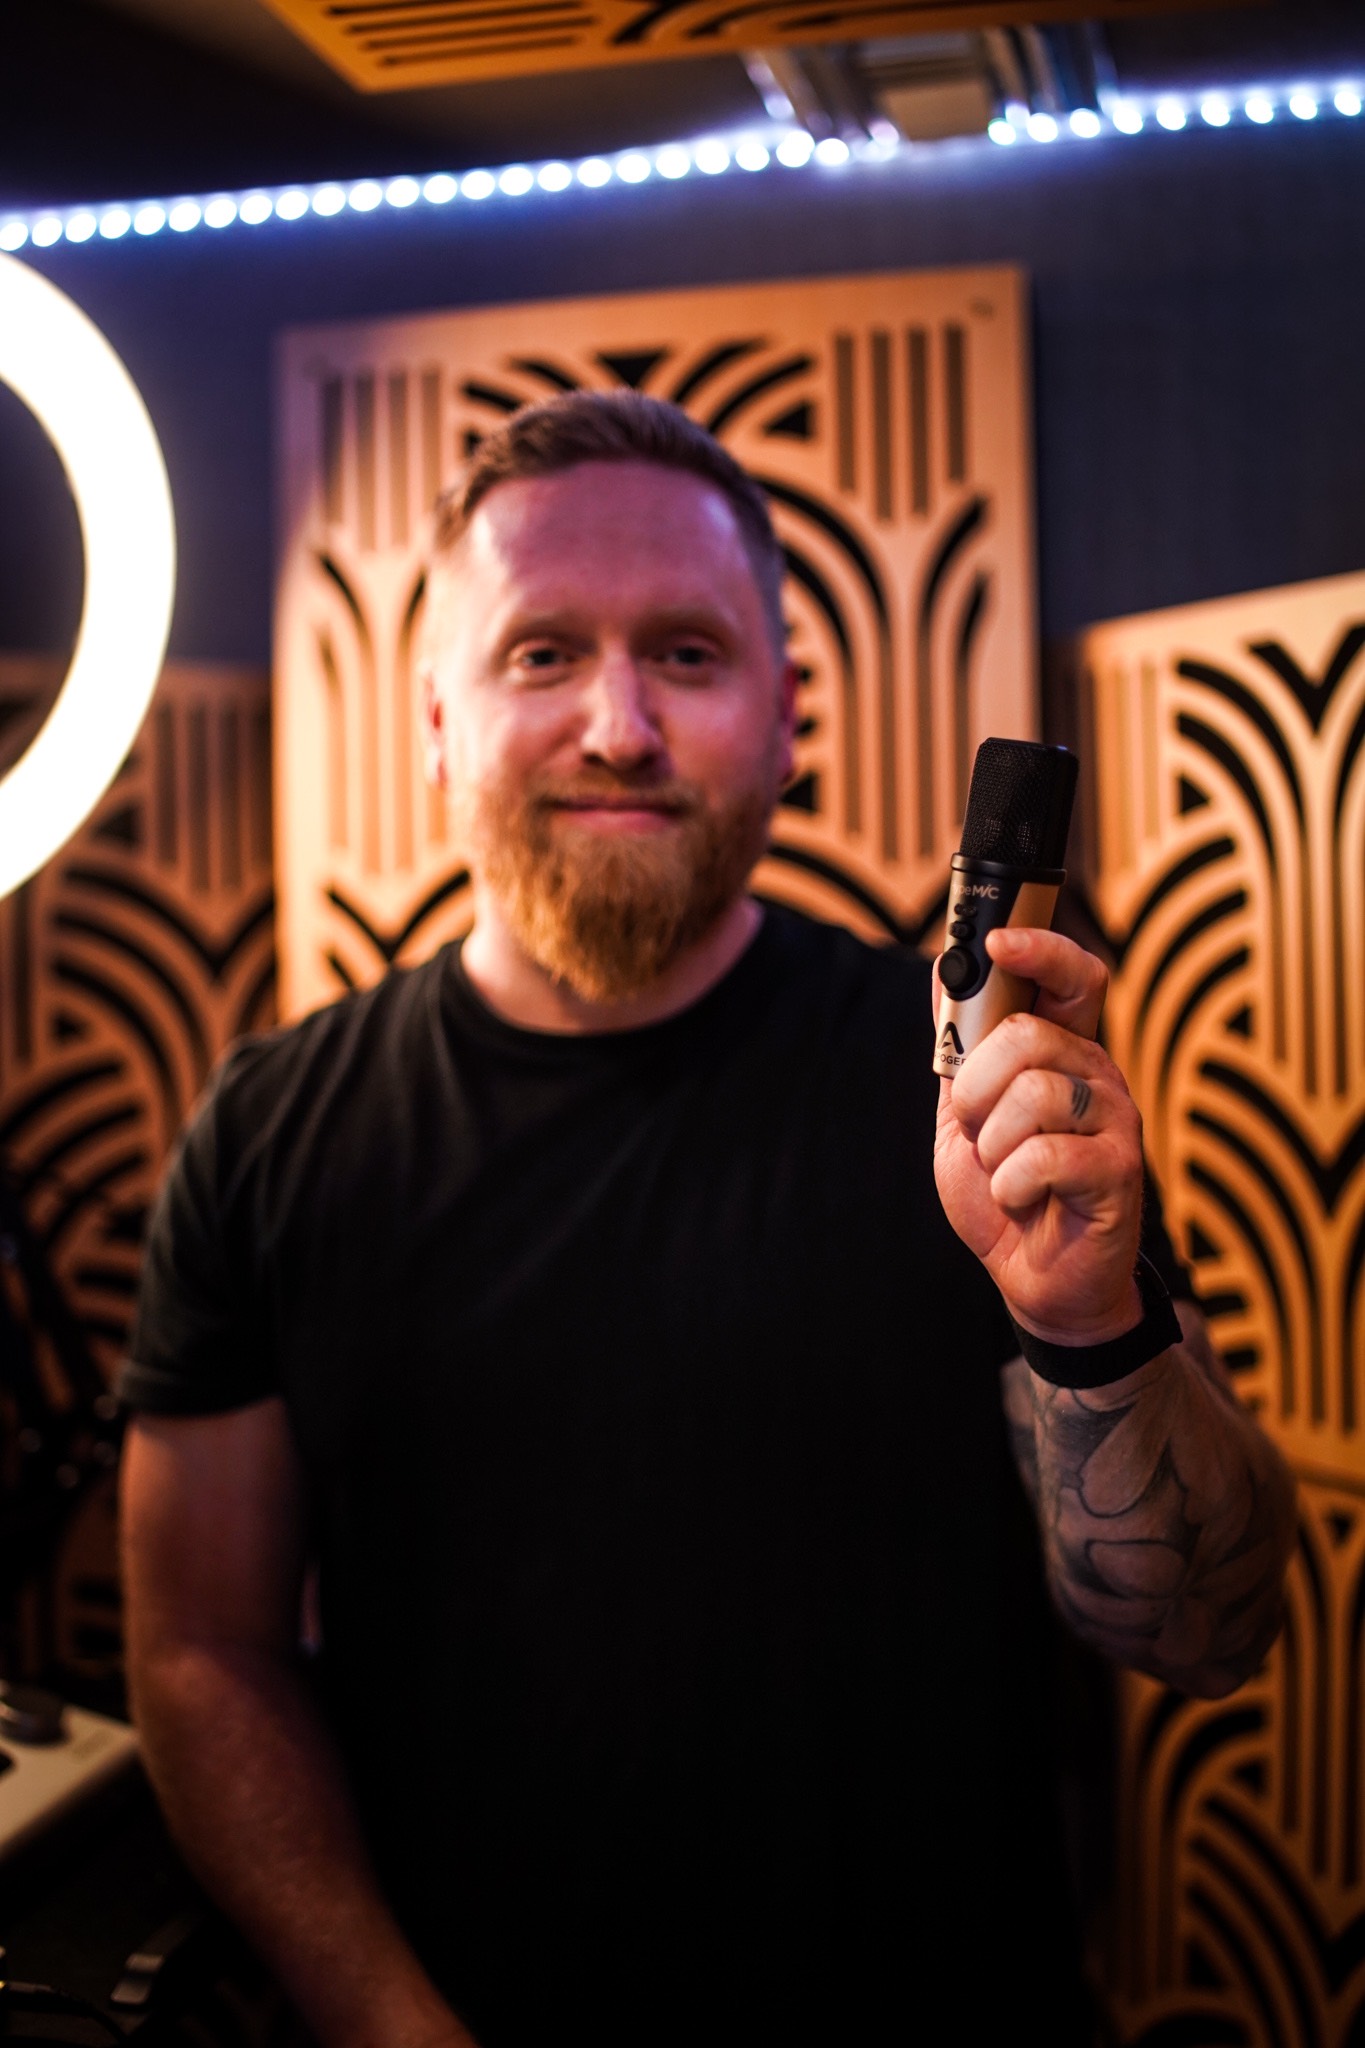
Besides the software, the first real piece of gear you'll want to invest in is a USB microphone. Since they are easy to use and don't require any additional equipment (aside from a computer and headphones), USB mics are an excellent option for beginning voice actors.
"With the Apogee MiC series, whether it's the HypeMiC or the MiC+, you're getting serious bang for your buck," relates Mullins. "The HypeMiC already comes with onboard compression, which can help your file just sound a bit better coming straight out of it. So if you're just starting out, that's the thing to do. You don't necessarily need an interface, you can just go direct USB into Logic or TwistedWave, into your phone or your computer. It's the most versatile thing to buy."
When you're ready to expand your setup, the next logical step is an XLR microphone. Instead of connecting directly to your computer, XLR microphones require something called an audio interface to amplify the signal, feed it to your computer and provide high-quality playback. This type of setup has numerous advantages, including the ability to switch between different microphones and connect studio monitors for playback.
"To this day, I use Logic and Apogee interfaces," says Mullins. "When I'm traveling, I have the Apogee ONE, and my primary rig that I use every single day for local and national stuff is the Apogee Duet. That is going to give you really high quality that doesn't break even the thousand-dollar barrier, which is important because when you're looking at interfaces, they can get wildly expensive real fast."
 THE ROOM MATTERS—GETTING BETTER SOUND FOR VOICEOVER RECORDINGS
Perhaps even more important than your gear is the room you're recording in. The acoustic properties of a room can have a big impact on how your voice sounds, and typical bedroom or home office spaces don't sound particularly flattering. Hard surfaces like walls, ceilings, and some floors cause high-frequency sound to bounce around uncontrollably, and the dimensions of the room can wildly exaggerate lower frequencies, making you sound muddy and unintelligible.
"I could have a trash microphone, and if I'm in a really good space, it'll sound infinitely better than a trash space with the best microphone," says Mullins. "Start with a microphone you can afford and spend more money on your space. I compete every day with really good actors, and sometimes the only thing that's going to make a difference is whose file sounded better. And guess what: if I'm just as good as the other person, or they're just as good as me, they're going to pick the one that has the better-sounding file."
There are a few different ways to improve the sound of your room. If you're on a budget, you can build a makeshift vocal "booth" out of heavy blankets held up by mic stands or furniture. If you have some money to spend, buy some absorption panels for your walls to soak up those high-frequency reflections (the thicker the better). We recommend avoiding closets because of their small dimensions, but some voice actors do good work in acoustically treated closets.
TECHNICAL SKILLS
In addition to a quality mic and a good-sounding space, you'll need to learn a few technical skills in order to get good vocal recordings. One of the most important skills is mic technique or the art of positioning your microphone and yourself to get the sound you want. While not a tech pro, here's what Jeremiah found works for himself and a lot of his VO friends:
"When you're doing conversational stuff, you want to be 6 inches off the mic, (VO tech guru George Whittam recommends a "fist" away for smaller spaces). I position myself off-axis so that I'm not getting heavy plosives. If you're doing something in a lower register, I would get probably three inches from the mic. For the Ford commercial I just did, the mic was one inch from my mouth, off-axis, probably at a 45-degree angle to my lips. For video game stuff, you always want a mic with a wide pickup pattern since you're moving around a lot more—because if you're off axis too much, you're going to hear the difficulty with that immediately."
If some of that sounded like jargon, we'll break it down for you. Off-axis simply means that the mic is not pointed directly at your mouth. This is common practice because "P" and "B" sounds tend to expel bursts of air called "plosives," which can result in an unpleasant distortion when they hit the mic. A microphone's pickup pattern refers to the way it picks up off-axis sound. Mics with wider pickup patterns pick up sound more evenly as you move around, which is what makes them good for dynamic performances like video game voice acting.
In addition to mic technique, you'll want to learn your way around your equipment and software so you can get the best-sounding recordings possible. According to Mullins, technical skills can give you a leg up when working with clients.
"It's a different world now. You used to just be able to be a good actor and go into a studio and act, now you need to be a great actor and a pretty damn good audio engineer. It's a significant advantage that I've noticed in my career when I could speak the lingo to the engineer on the other side of the Source-Connect session and we could understand each other. He could say, 'Hey Mullins, I'm getting a hiss, ' and I know what he means. Today, I was on a session and my engineer asked, 'Are you bouncing in 192k?' And I can answer that because I watched Logic tutorials. There is an advantage to staying up on the technological trends."
Brushing up on your technical skills can help you avoid common mistakes which could cause you to miss out on potential gigs. Here's a quick checklist of simple things you can do to create professional-sounding recordings:
- Check the file format when you record and export. The standard is a mono Wave file (.wav) with a sample rate of 48 kHz and bit depth of 24.
- Trim any empty space from the beginning and end of your recording and add a very short fade-in and fade-out for a smooth start and end.
- Shoot for an average level between -6 and -3 decibels on your software's output meter, making sure that it never "clips," or causes the meter to turn red.
- If using compression, keep it subtle. Compression can smooth out the volume of your voice, but using too much can reduce the dynamics of your speech.
- Use a high-pass filter on your microphone or in your software to remove ultra-low frequencies that aren't part of your voice (usually below 150 Hz).
NEXT STEPS
Once you've honed your craft a bit, acquired the necessary gear, acoustically treated your space and learned how to create good-sounding recordings, you're ready to get your voice acting career off the ground. Read part two to hear Mullins's advice on creating a demo, looking for work, getting an agent and more.
Learn more about Jeremiah Mullins on his website: www.jeremiahmullinsvoice.com


 Other Related News